
APP Photo Montage
27.12.2021 / UI/UX Graphic/ Posted by: skravchukMaster Brief (regular* BRIEF from my work)
Background
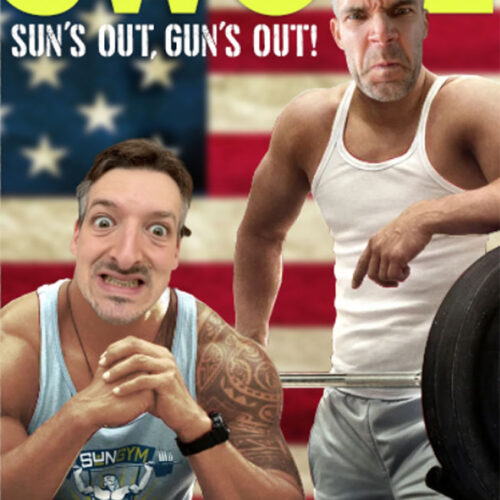
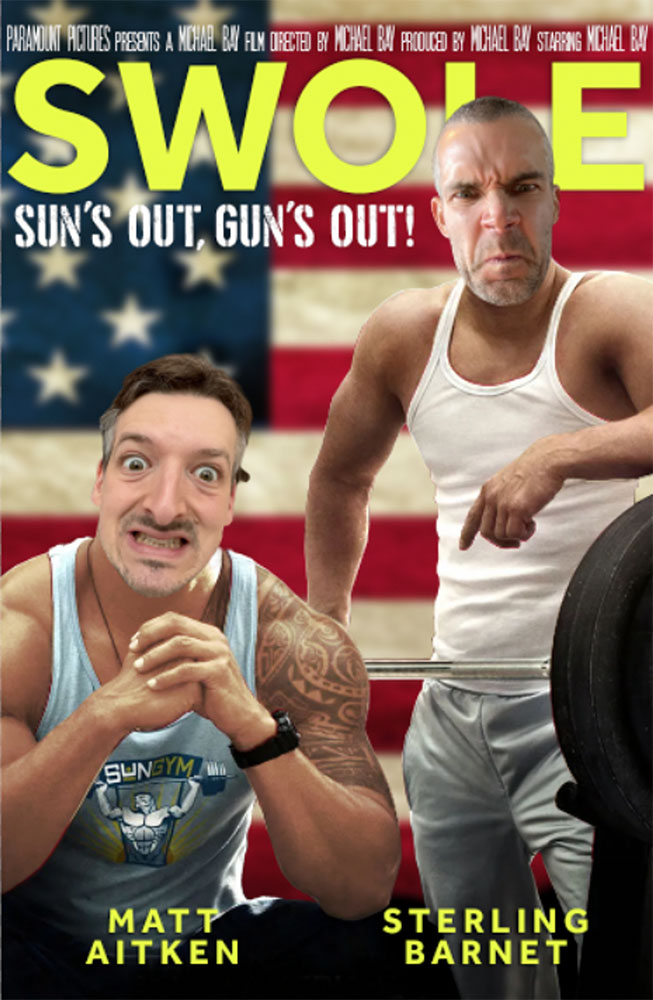
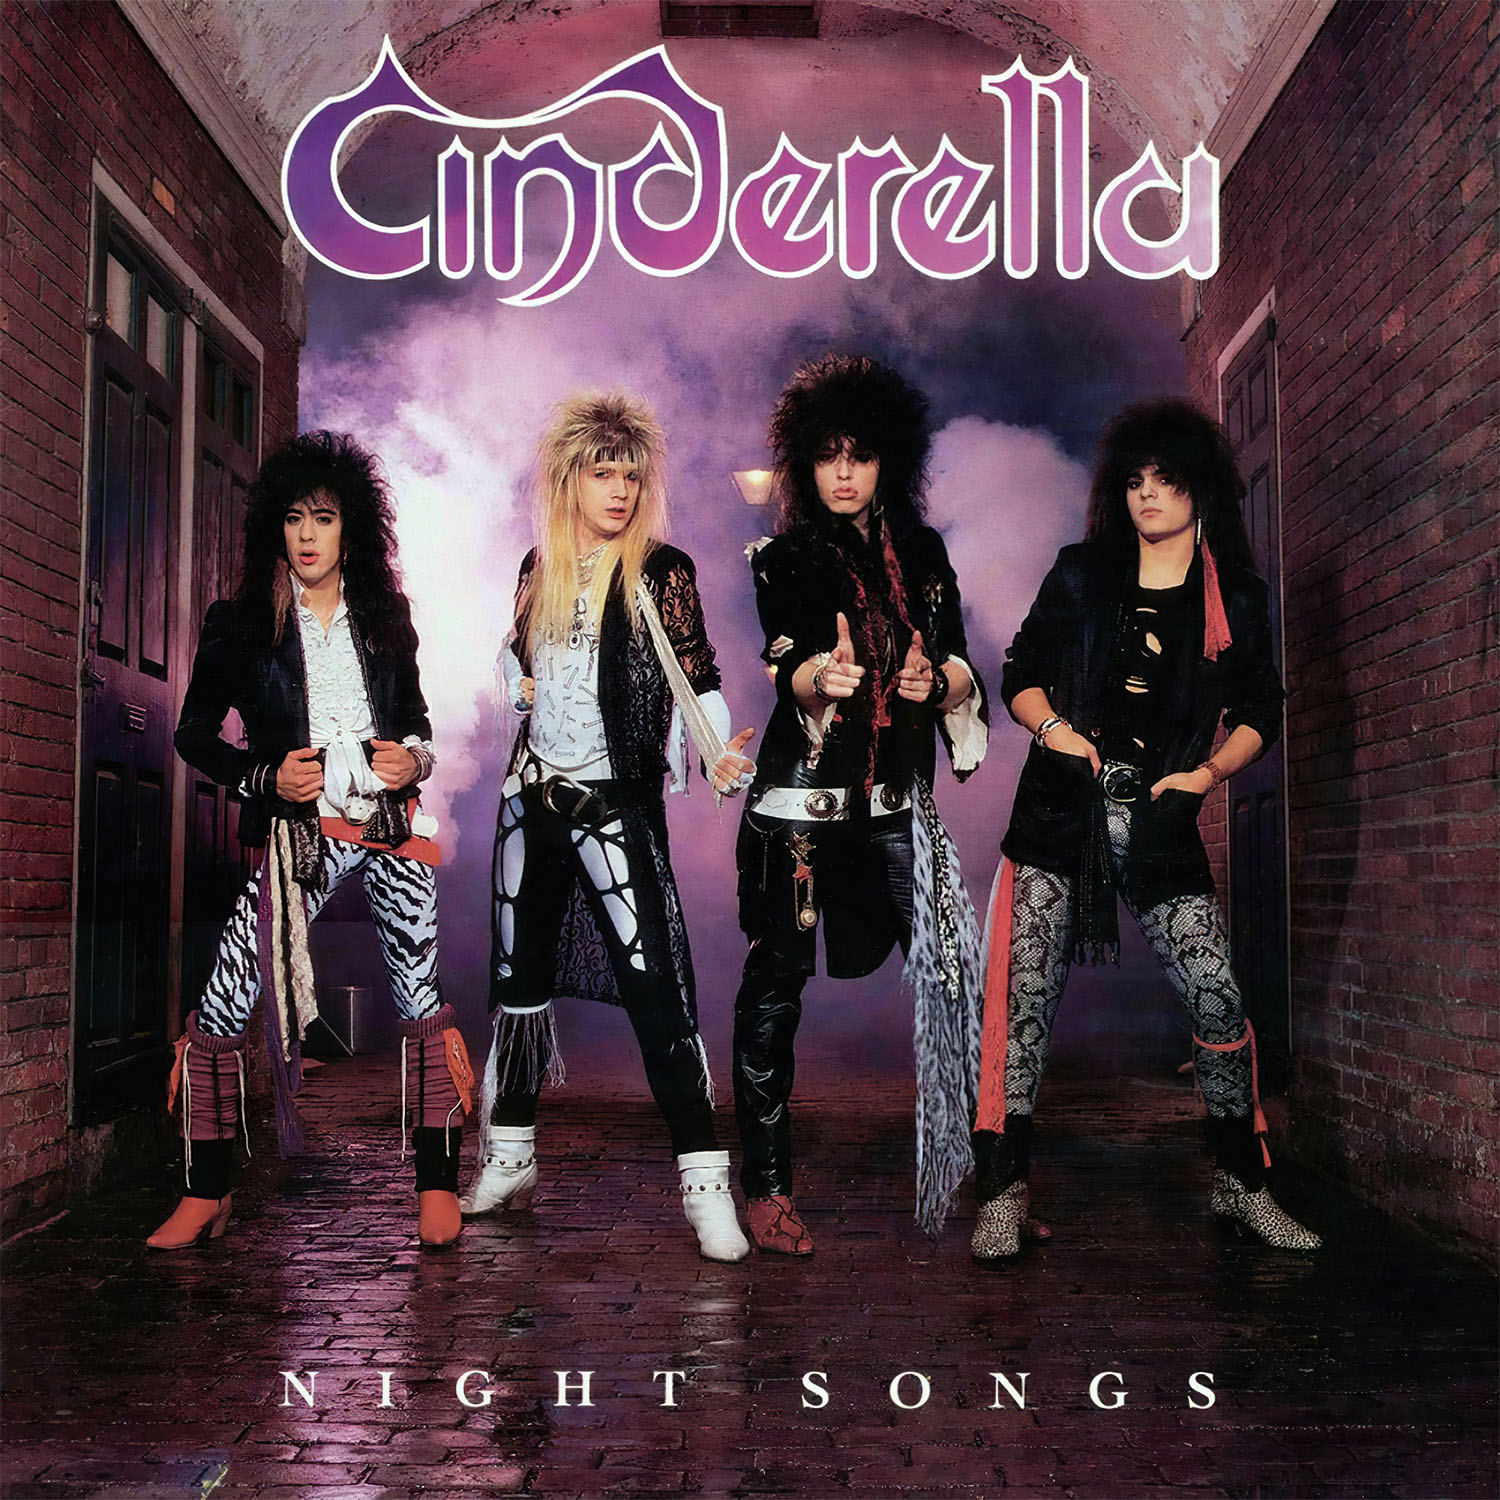
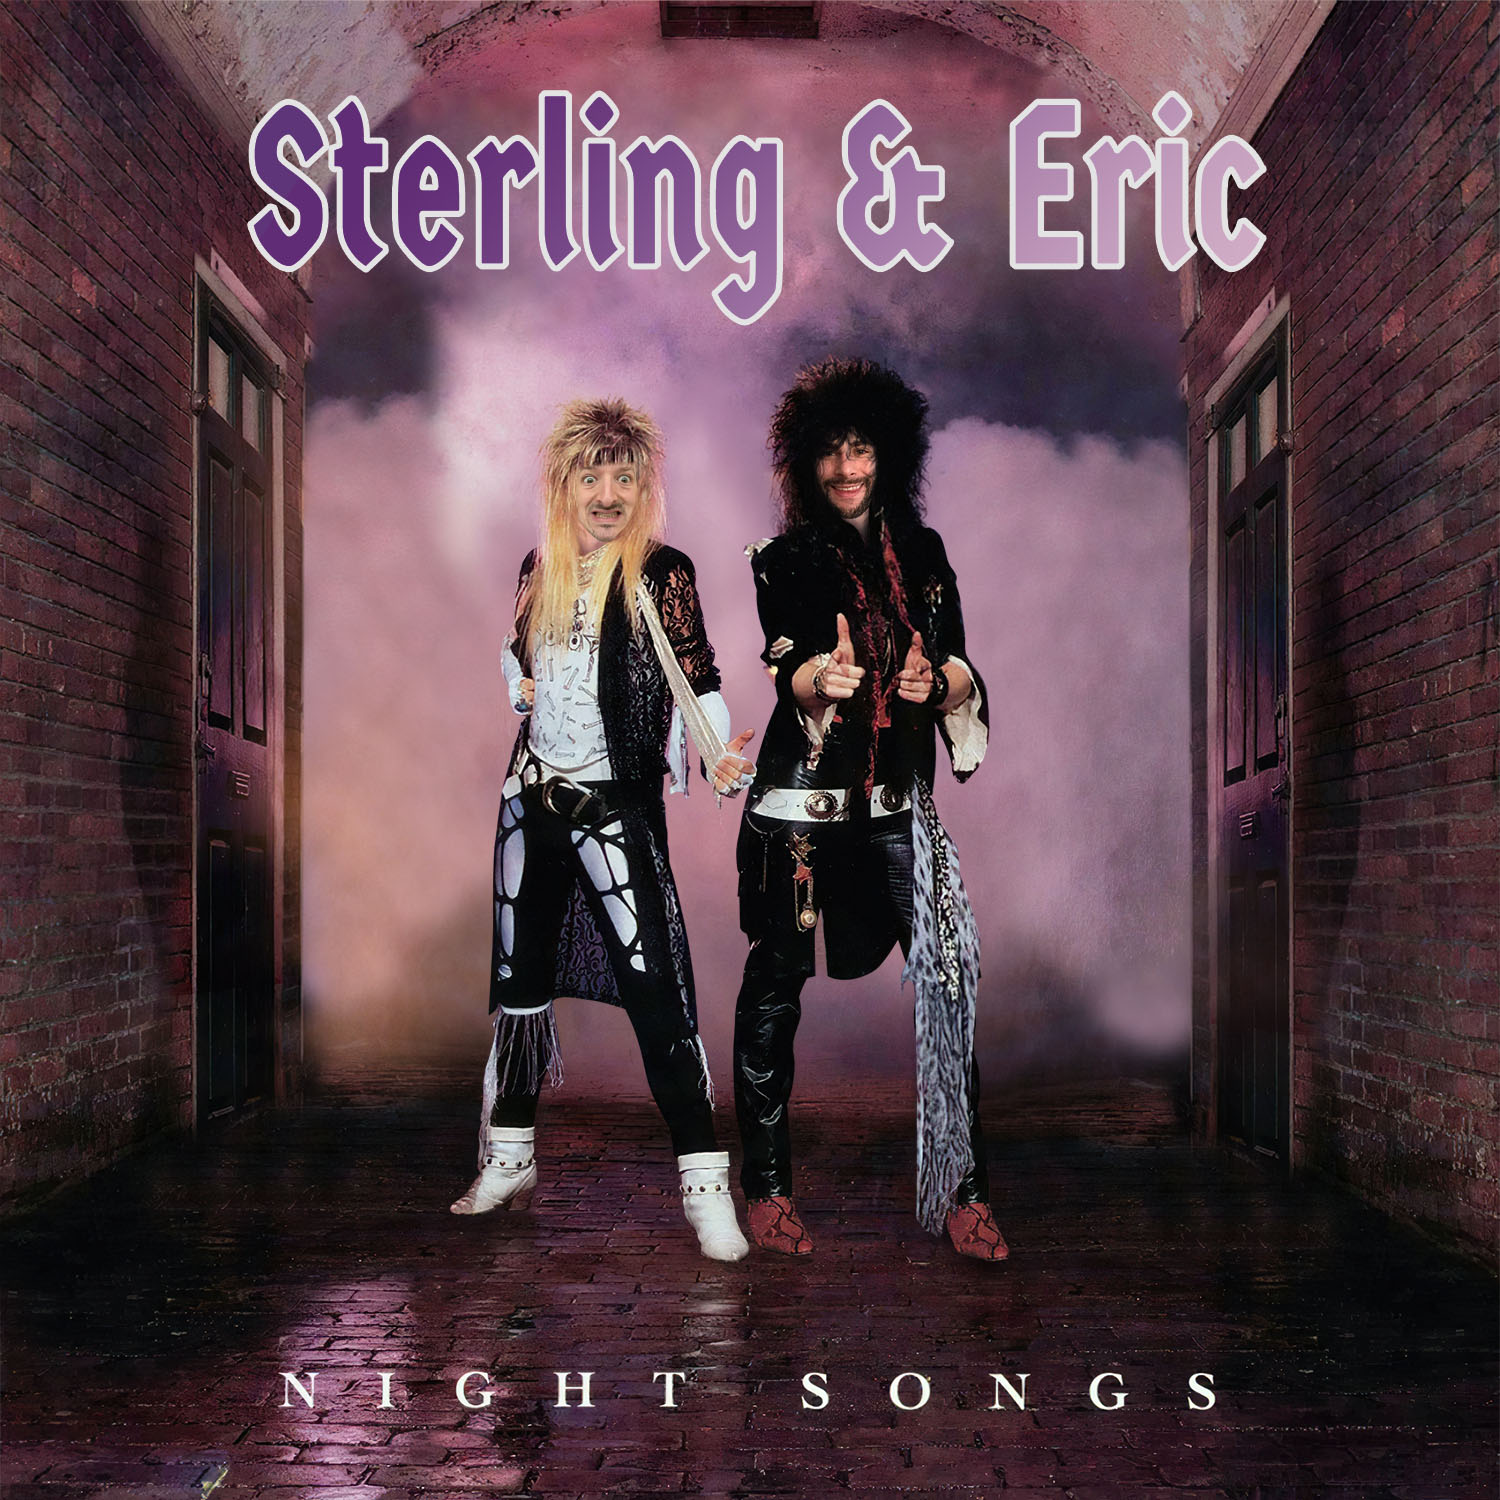
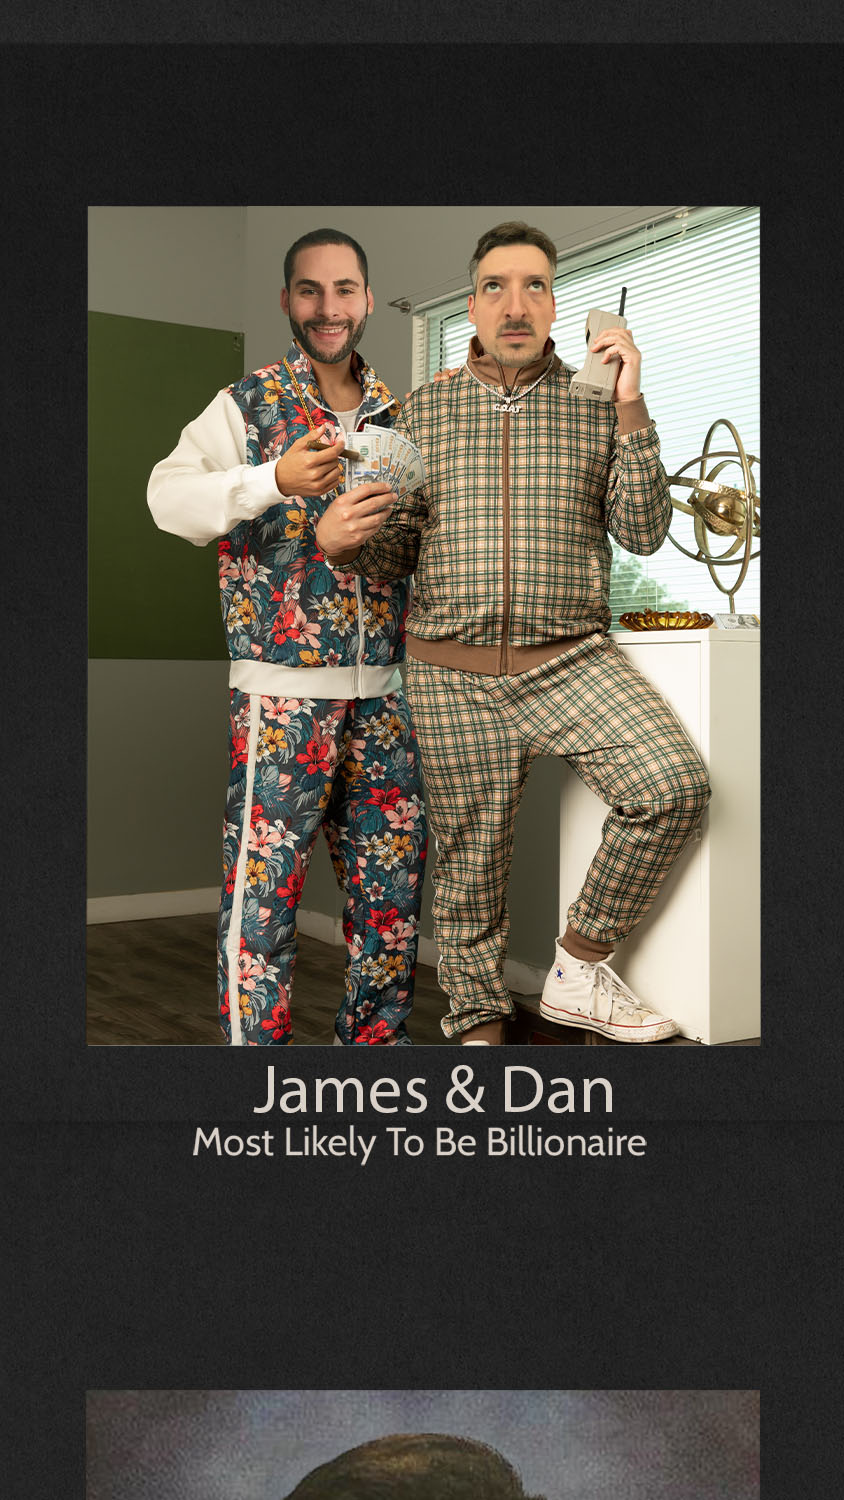
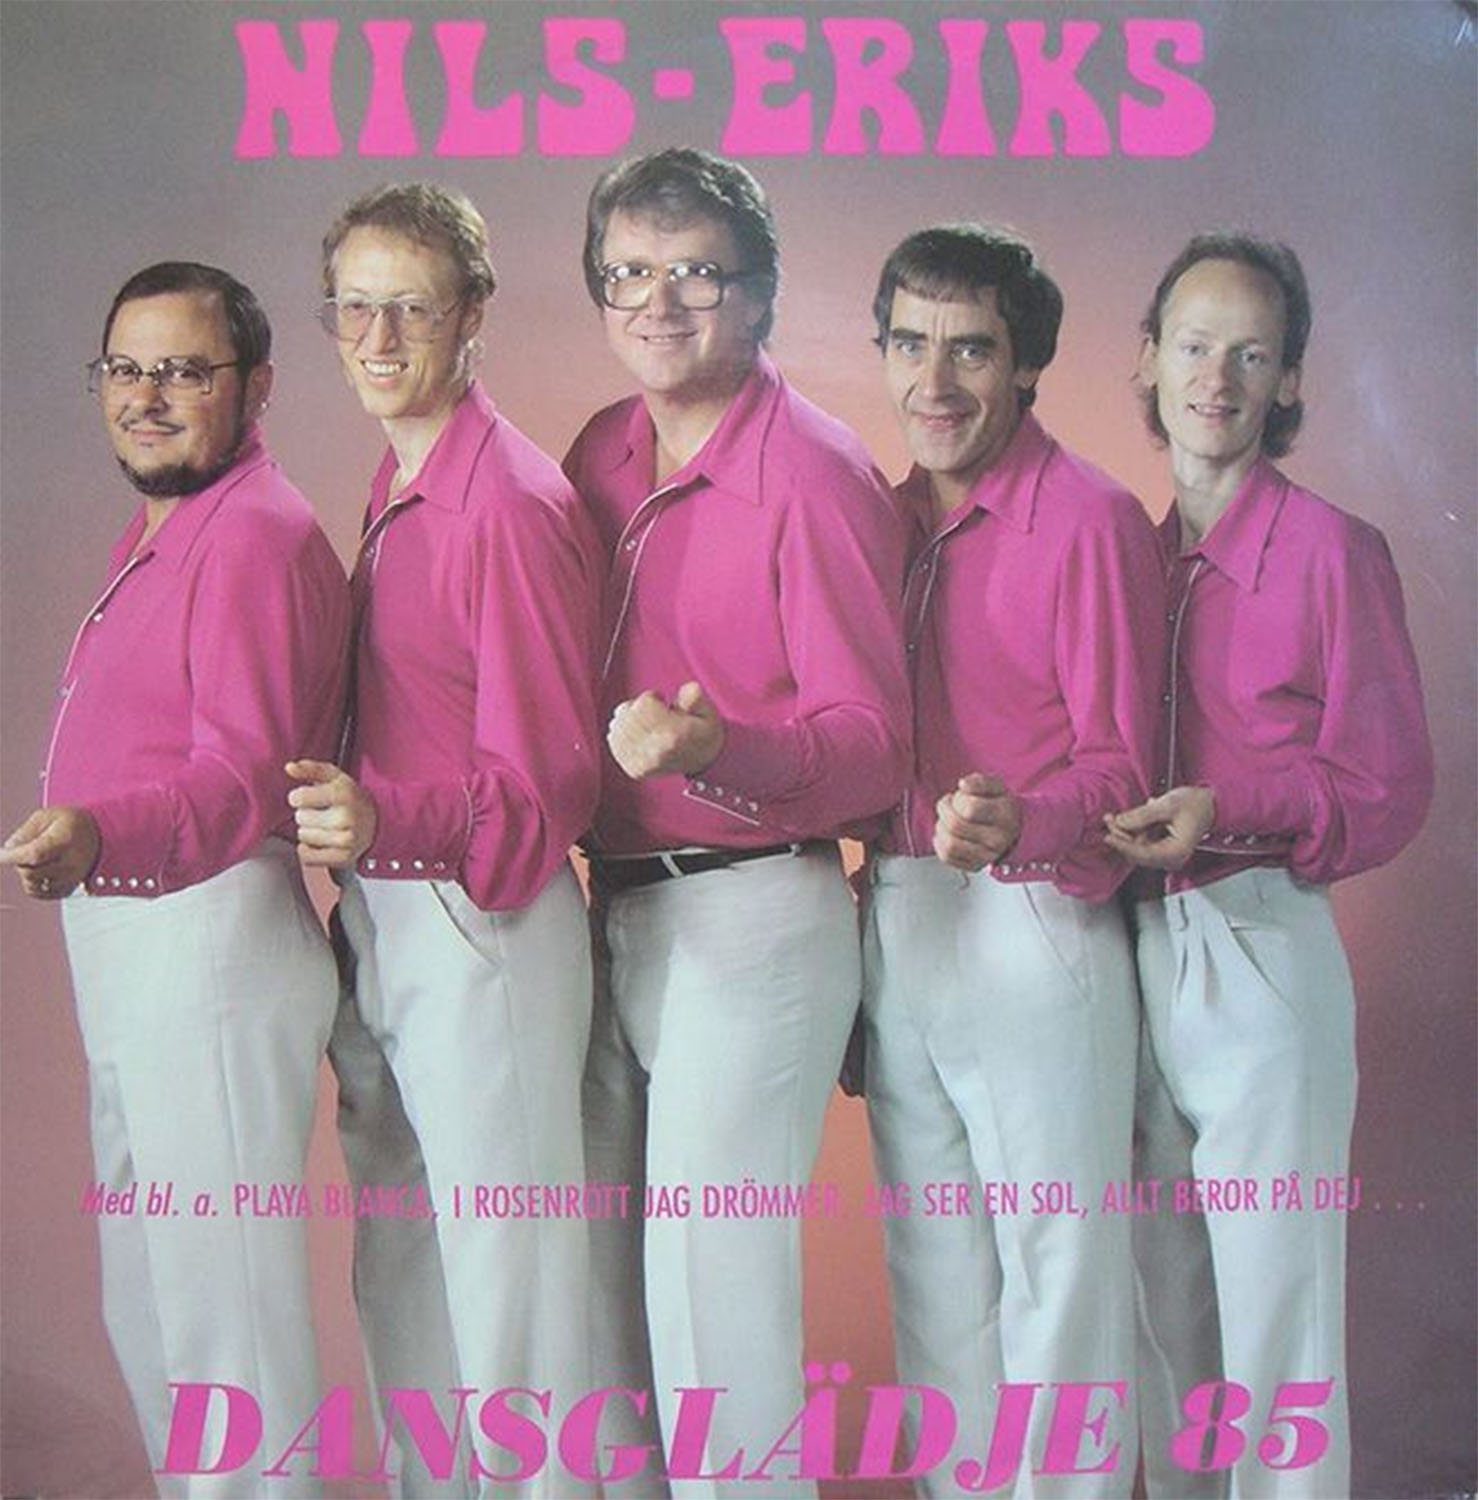
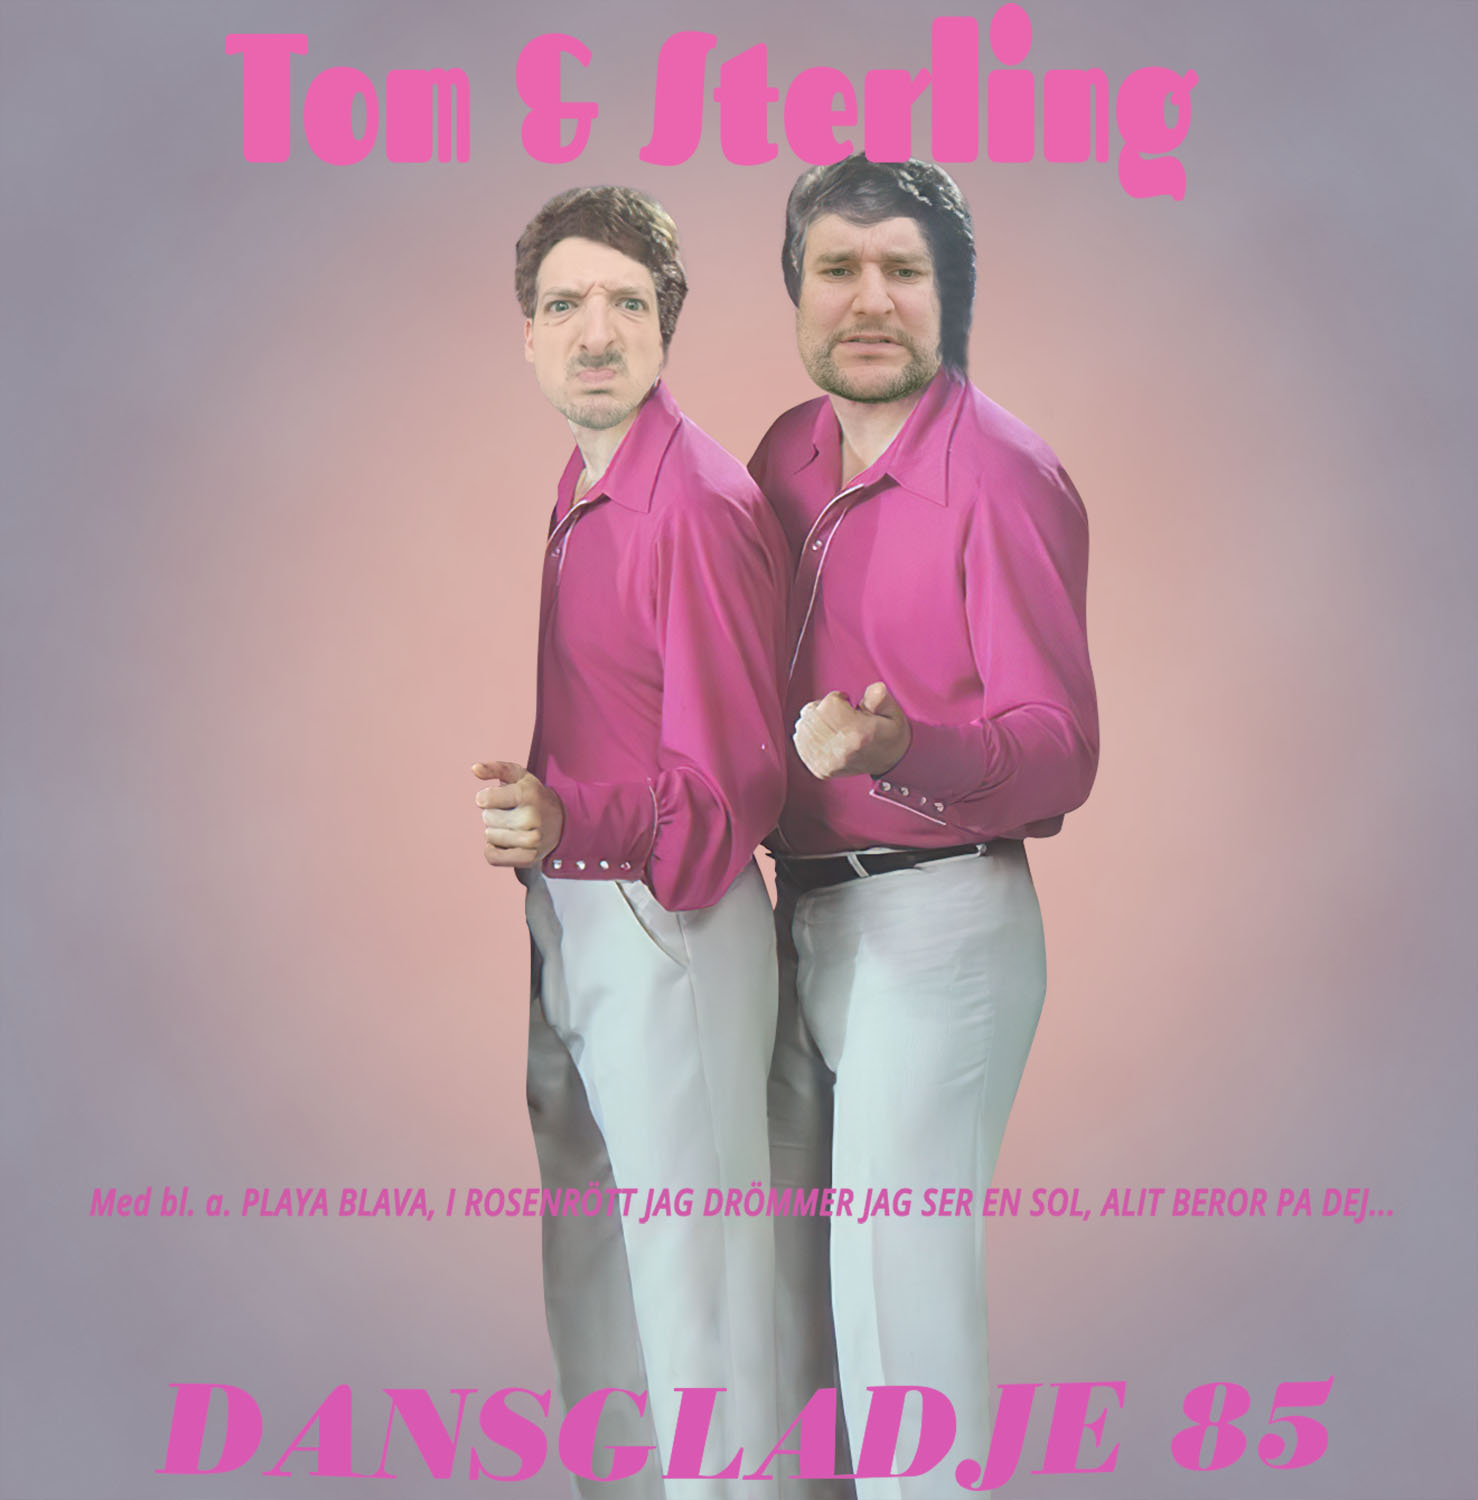
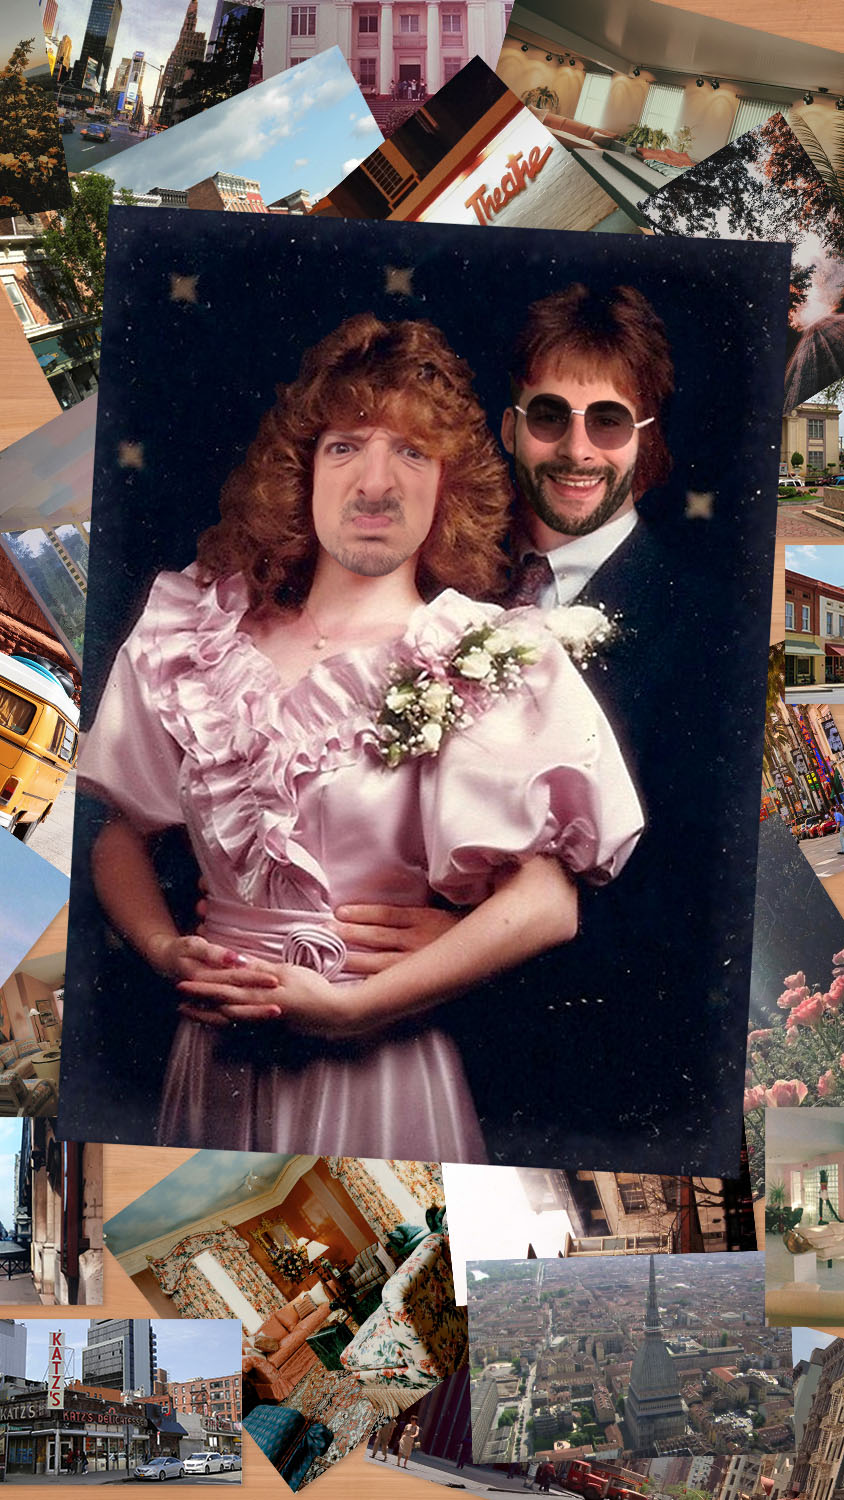
We are creating a mobile app that turns a selfie of you into a funny photo to share with friends. As an example, below is a movie poster starring you and a friend.
Brief
Create a lifelike photoshopped composition using photos found on the web, stock images and photos supplied by us.
We will provide images to start you off but sometime you will need to find stock photos to complete the final image.
The movie poster above is a quick mock up example. We expect a much higher level of photorealism and photoshopping quality.
Each photo you create is part of a larger album.
There are 22 photos in an album and each one will need to be created in Photoshop by you.
Each photo needs to look as photorealistic as possible but we accept there will be a limit to this.
Each photo will contain 1, 2, 3 or 4 people in it.
What you need to do:
- Read through the rest of this document carefully.
- Ensure you follow each of the steps in the What you need to do sections below.
- If anything is unclear, reach out to James via email or Slack who will be happy to help and provide guidance.
Document setup
The App will display all photos in a vertical format.
The photo aspect ratio is 9:16.
James will provide you with a template PSD file setup to the correct dimensions.
What you need to do:
- Use the template file to create one photo with all the layers for exporting.
- Duplicate the template file for each new photo you create.
- Save all PSD and PNG files you create in a Dropbox. James will provide access to this.
Skin colour
The app will select a skin tone for you based on your skin tone preference. This allows each person in the photo to have the correct skin tone to match their face.
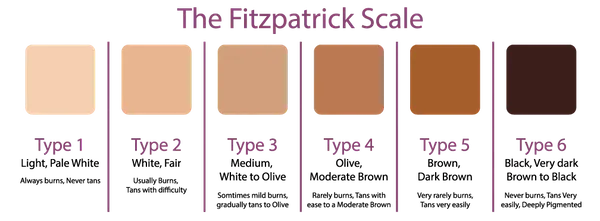
We are using the Fitzpatrick Scale to determine the different skin tones:
(This is the same scale they use to determine the skin tones in Emojis).
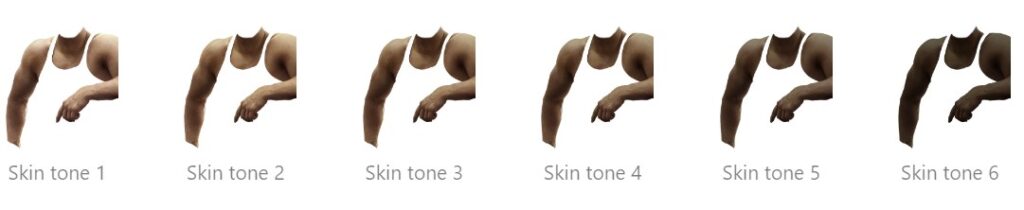
Here is an example of the 6 skin tone layers used in the movie poster example:
What you need to do:
- Cut out any exposed skin on each model separately. Ignore the heads. (Cut the heads out separately according to the Heads section below.)
- Use adjustment layers and other techniques to match the model’s skin tone to the 6 skin tone examples in the Fitzpatrick Scale above.
- Create new layers for each skin tone.
- Group all 6 skin tone layers together.
Gender
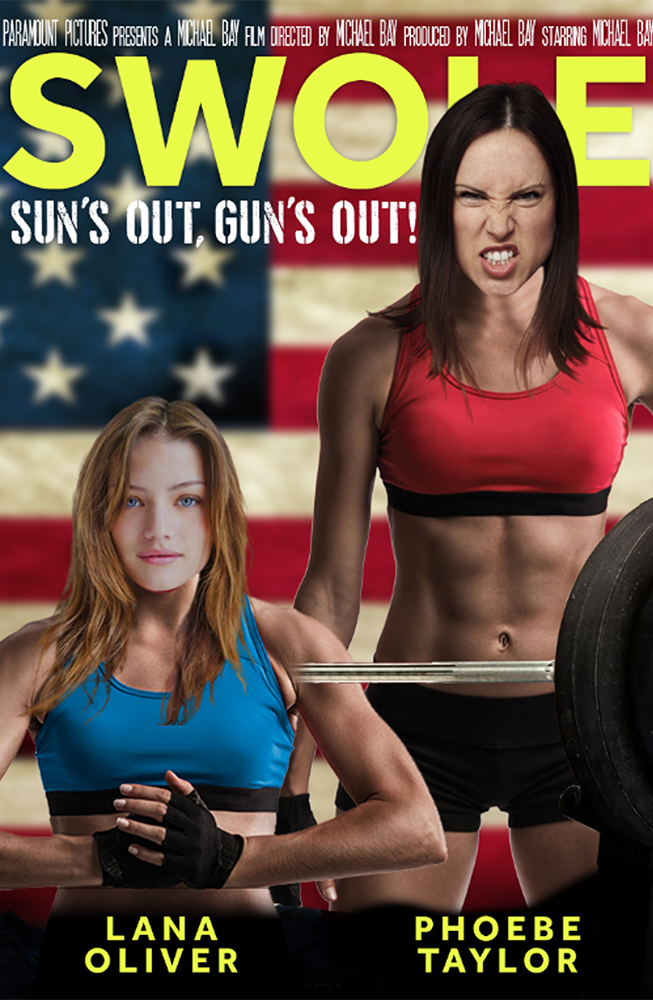
What you need to do:
- Source male and female versions of each person in the photo doing the same pose (or be able to manipulate photos to accomplish this). We can provide photos to use in some cases.
- Important: Position the male and female models so that a head layered on top sits in the correct position on both.
- Organise, group and name the 2 male and female layers according to the Final PSD Example below.
Heads
The App will take a selfie of you and composite it into the photo. To do this, the App will automatically cut your head out onto a transparent background, rotate, scale and position you in place in the photo.
In order for your face to be positioned onto a body, you will need to remove the head from the original body.
James will provide you with some different cutout heads to place onto the bodies to check they all look good. Different shaped heads all need to work:
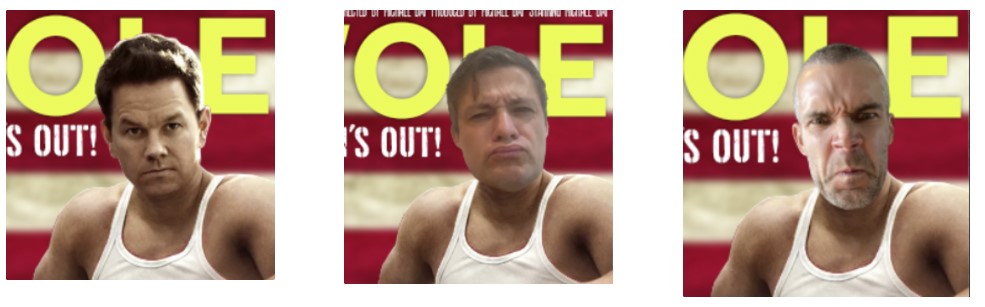
What you need to do:
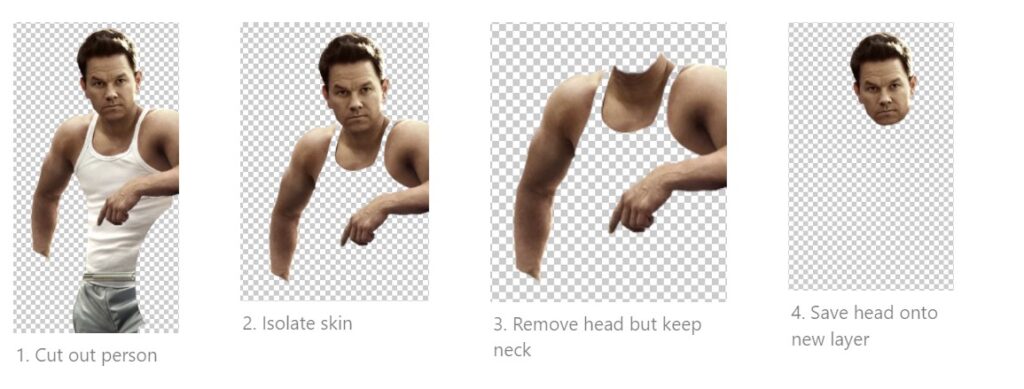
- Cut out the person from any background they might be on.
- Cut out their head and keep on a separate layer. See Final PSD Example for reference.
- When creating the skin tone layers, remove the head but ensure the neck remains so any new face can be positioned on top convincingly.
- Important: You might need to create some extra neck area to ensure there won’t be any gaps when different heads are placed on top.
Text in the photo
Some photos might require text to appear on the photo on a specific layer.
This will be made clear in each storyboard image.
What you need to do:
- If text is required, style the text in the correct theme or style for the photo. For example, use appropriate movie poster fonts to create a specific movie genre poster.
- Keep text layers in the PSD as text. Don’t rasterise them.
- Provide the font file used. Add it to the Dropbox folder.
Safe areas
The App will show all photos in full screen vertical format. However, there will also be a User Interface overlaid on the photo which means some of the photo will be obscured.
The safe area illustration below show how to use it correctly:
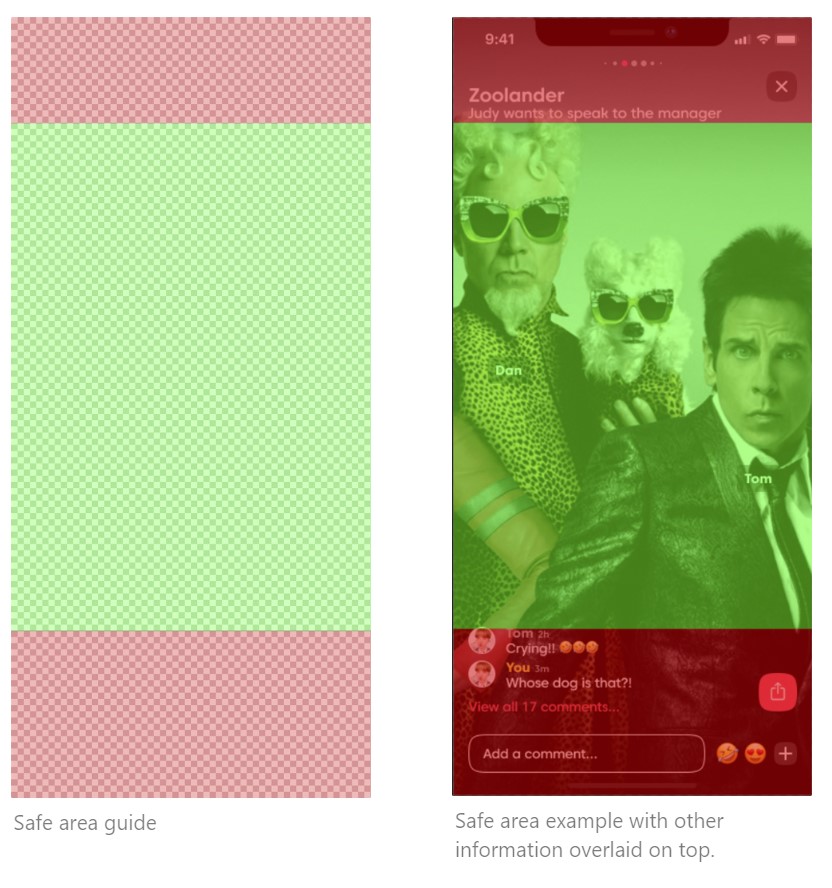
What you need to do:
- The safe area will be provided as part of the template PSD. James will provide this.
- Contain all the ‘action’ and people within the green zone.
- The rest of the photo should cover the full 9:16 screen, including the red zone.
Final PSD example
The layers, groups and naming convention is important.
Below is an example of a PSD with only 1 person (as both male and female).
Create each PSD with the following layers, groups and naming convention:
- layer-1-sunglasses // optional: we might want to add another layer on top of a person
- woman-1
- woman-1-head
- skin-tones
- skin-tone-1 // lightest skin tone
- skin-tone-2
- skin-tone-3
- skin-tone-4
- skin-tone-5
- skin-tone-6 // darkest skin tone
- woman-1-body
- man-1
- man-1-head
- skin-tones
- skin-tone-1 // lightest skin tone
- skin-tone-2
- skin-tone-3
- skin-tone-4
- skin-tone-5
- skin-tone-6 // darkest skin tone
- man-1-body
- background // this is the very bottom layer
Delivering the final exported PNG files
Each layer needs to be exported separately. The App will composite them all together in the correct order automatically to create the finished photo.
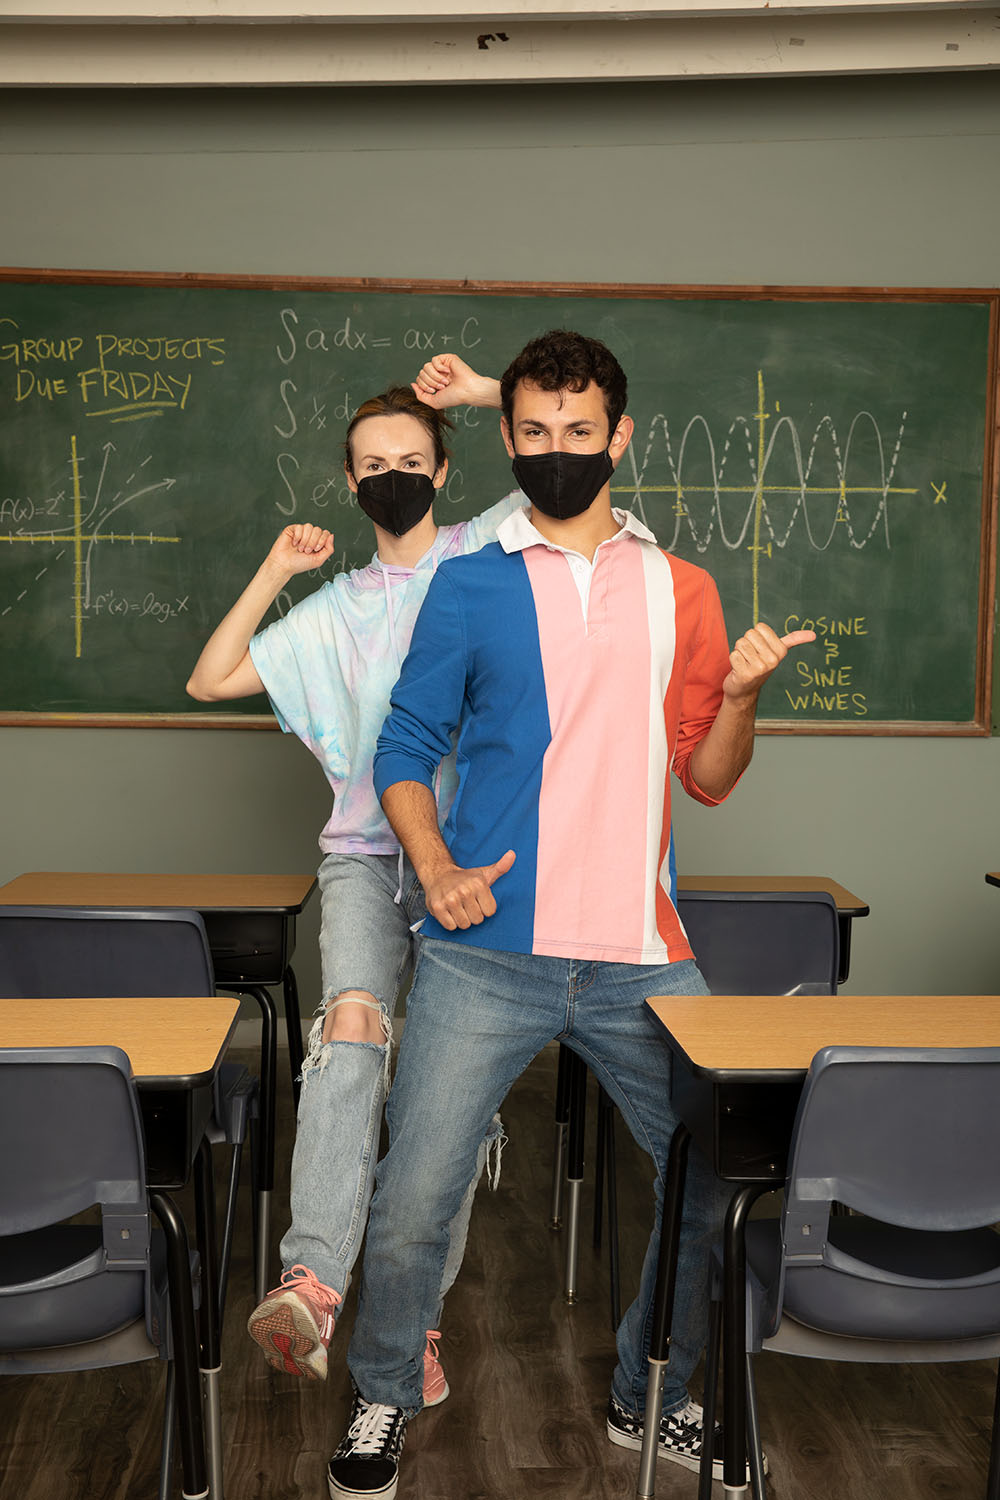
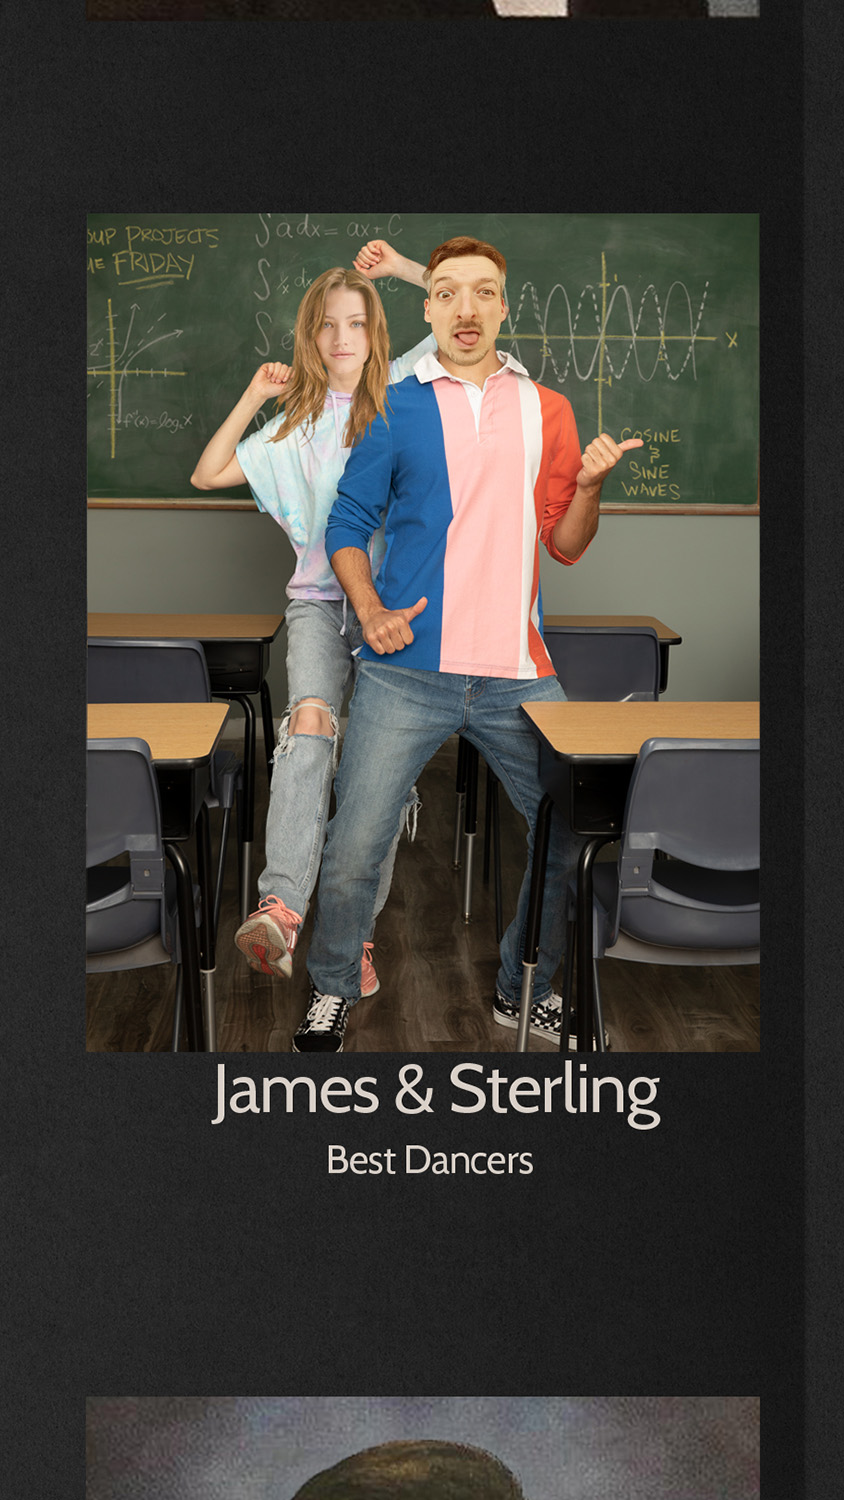
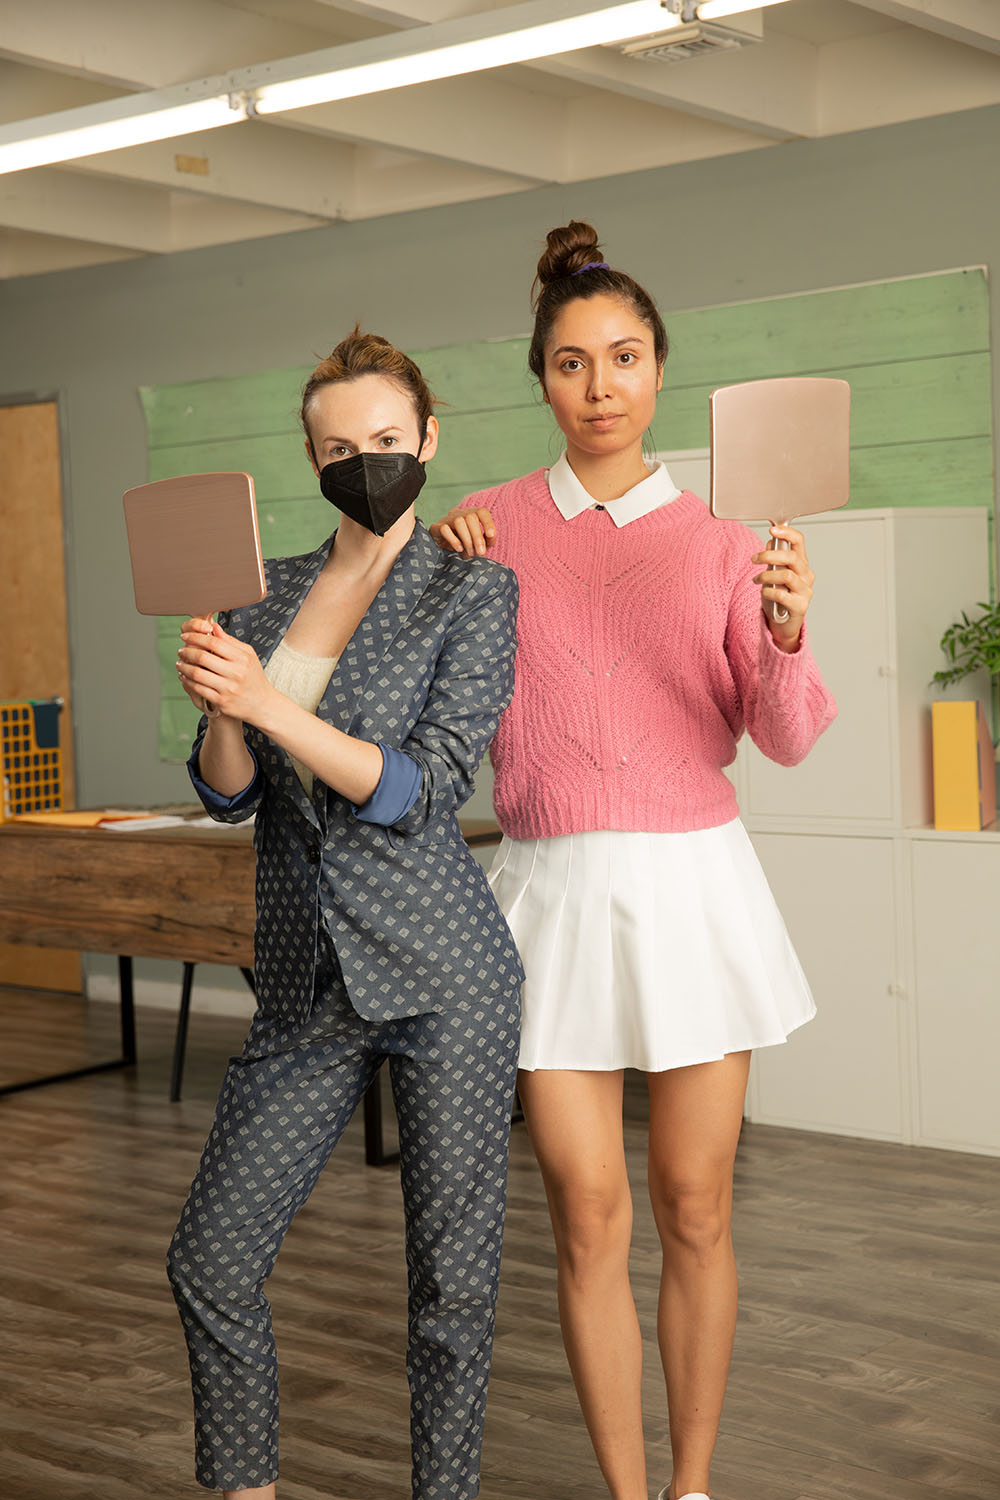
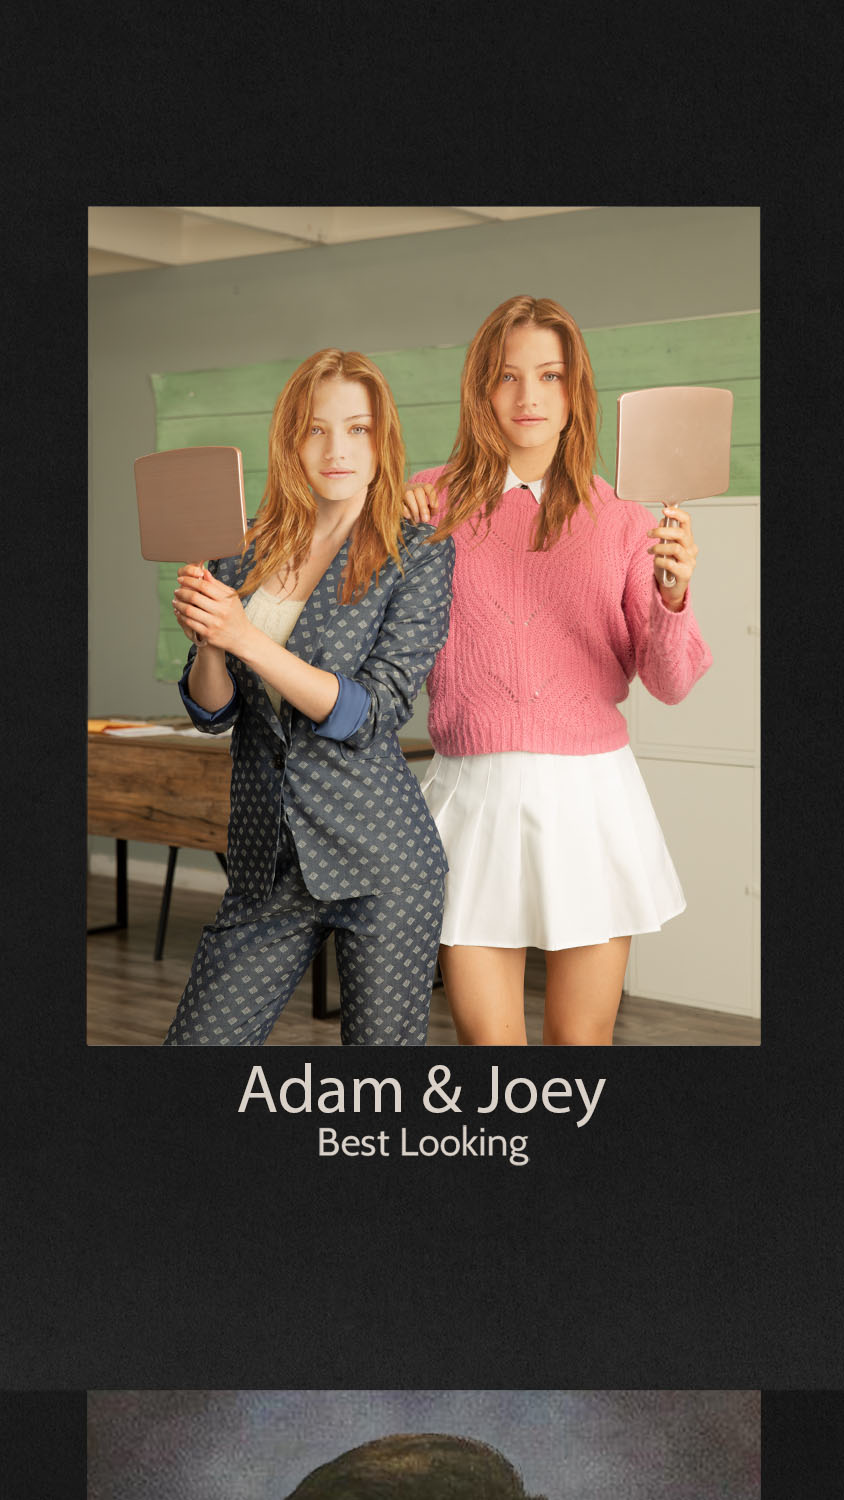
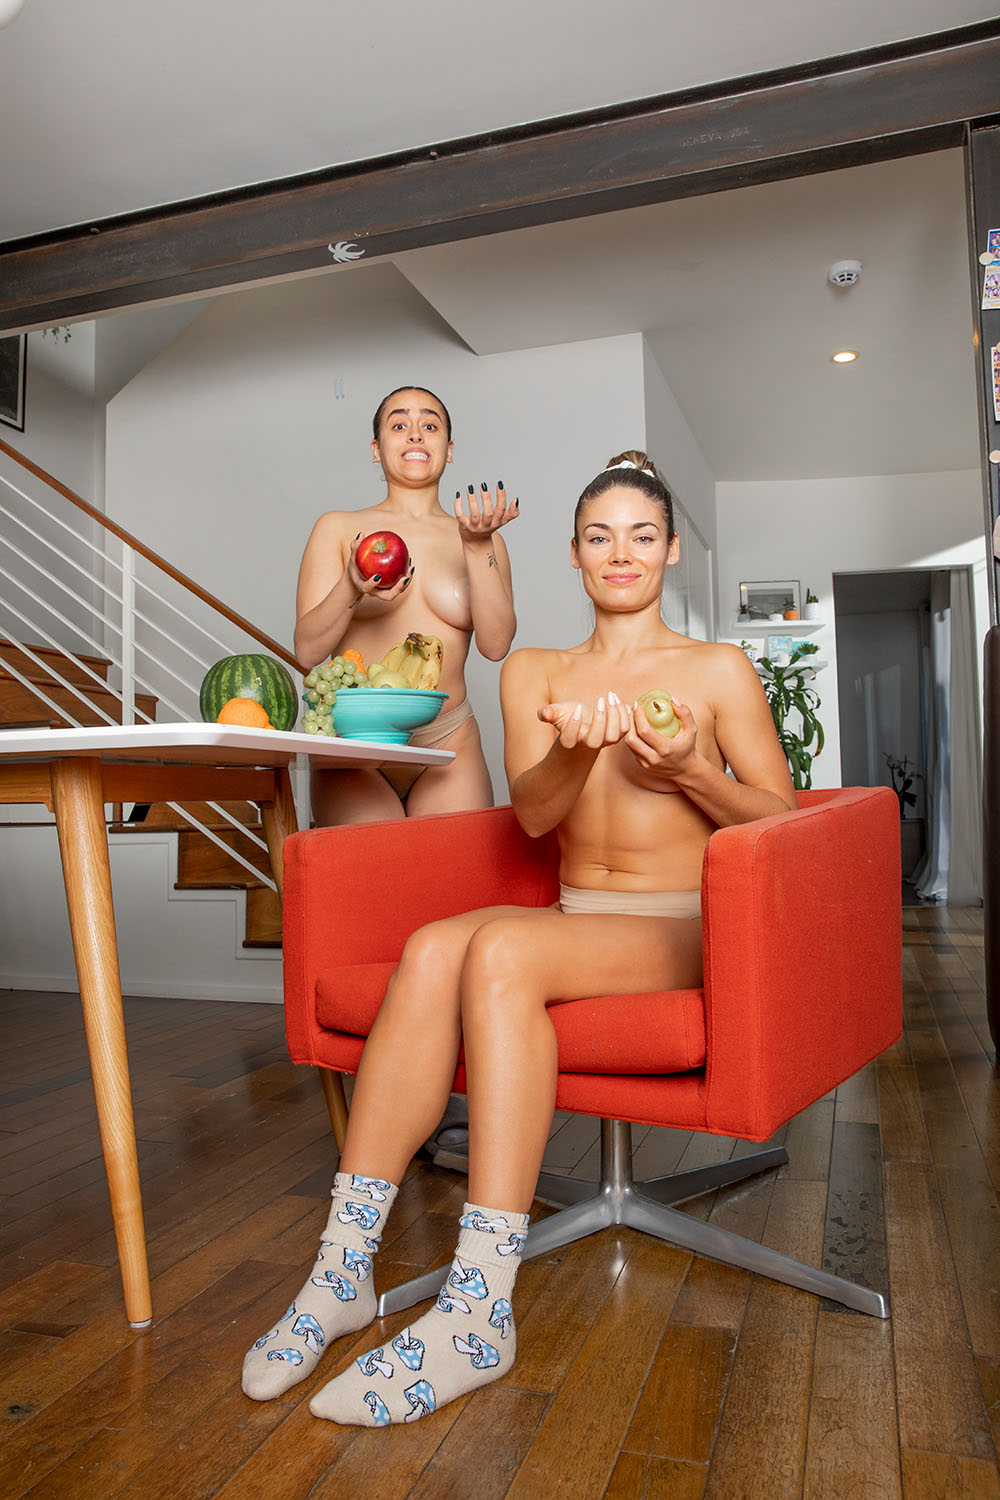
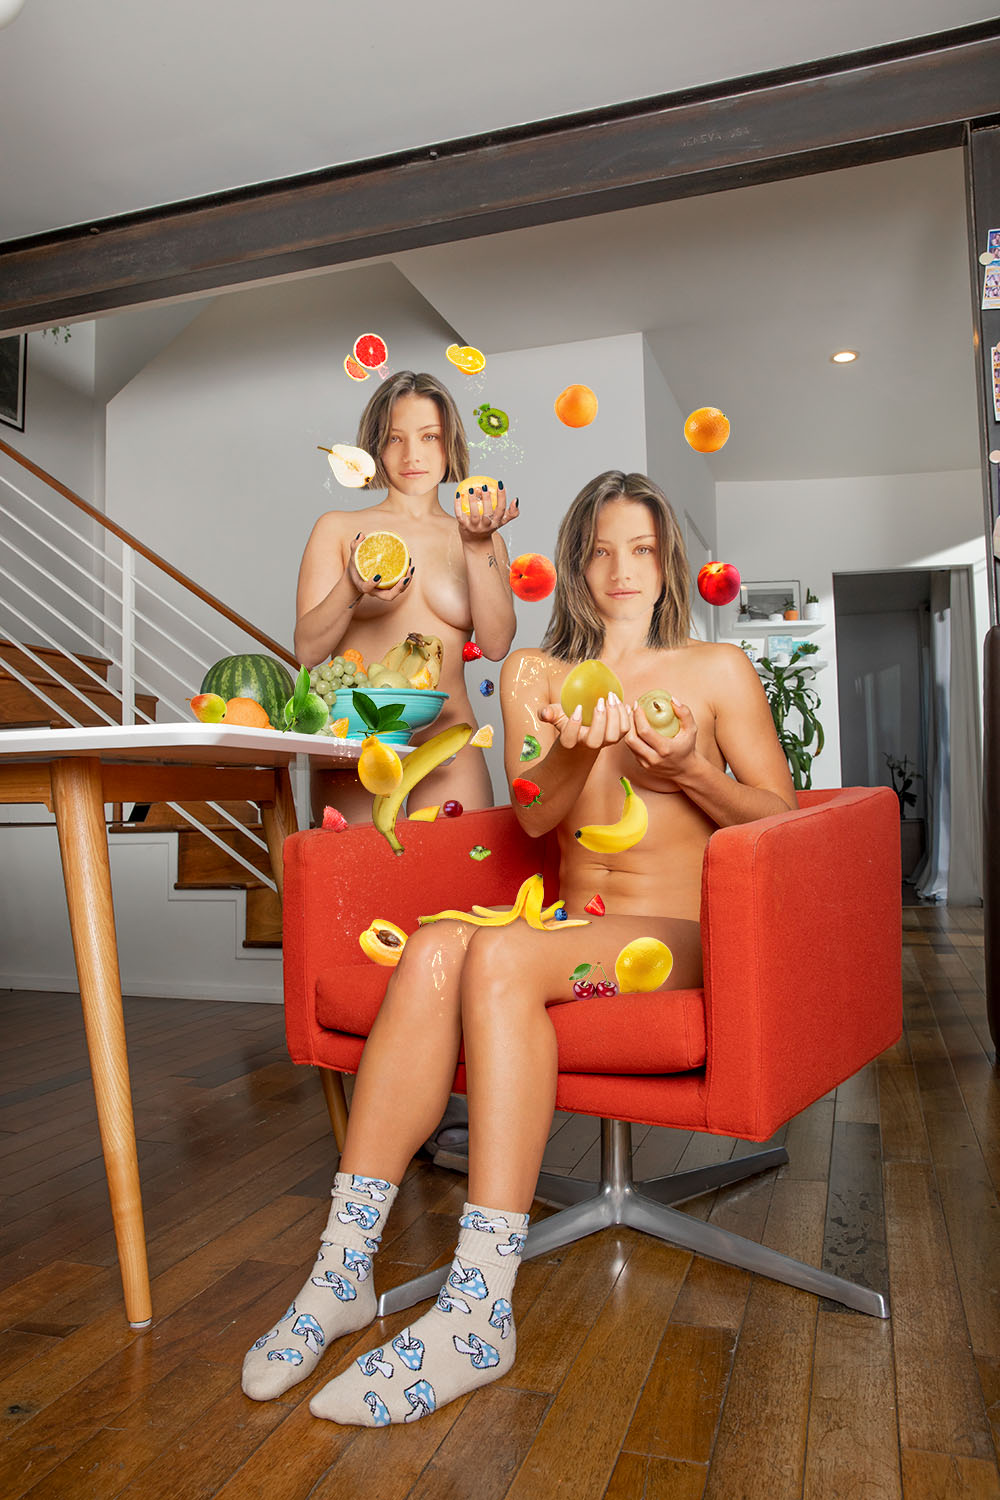
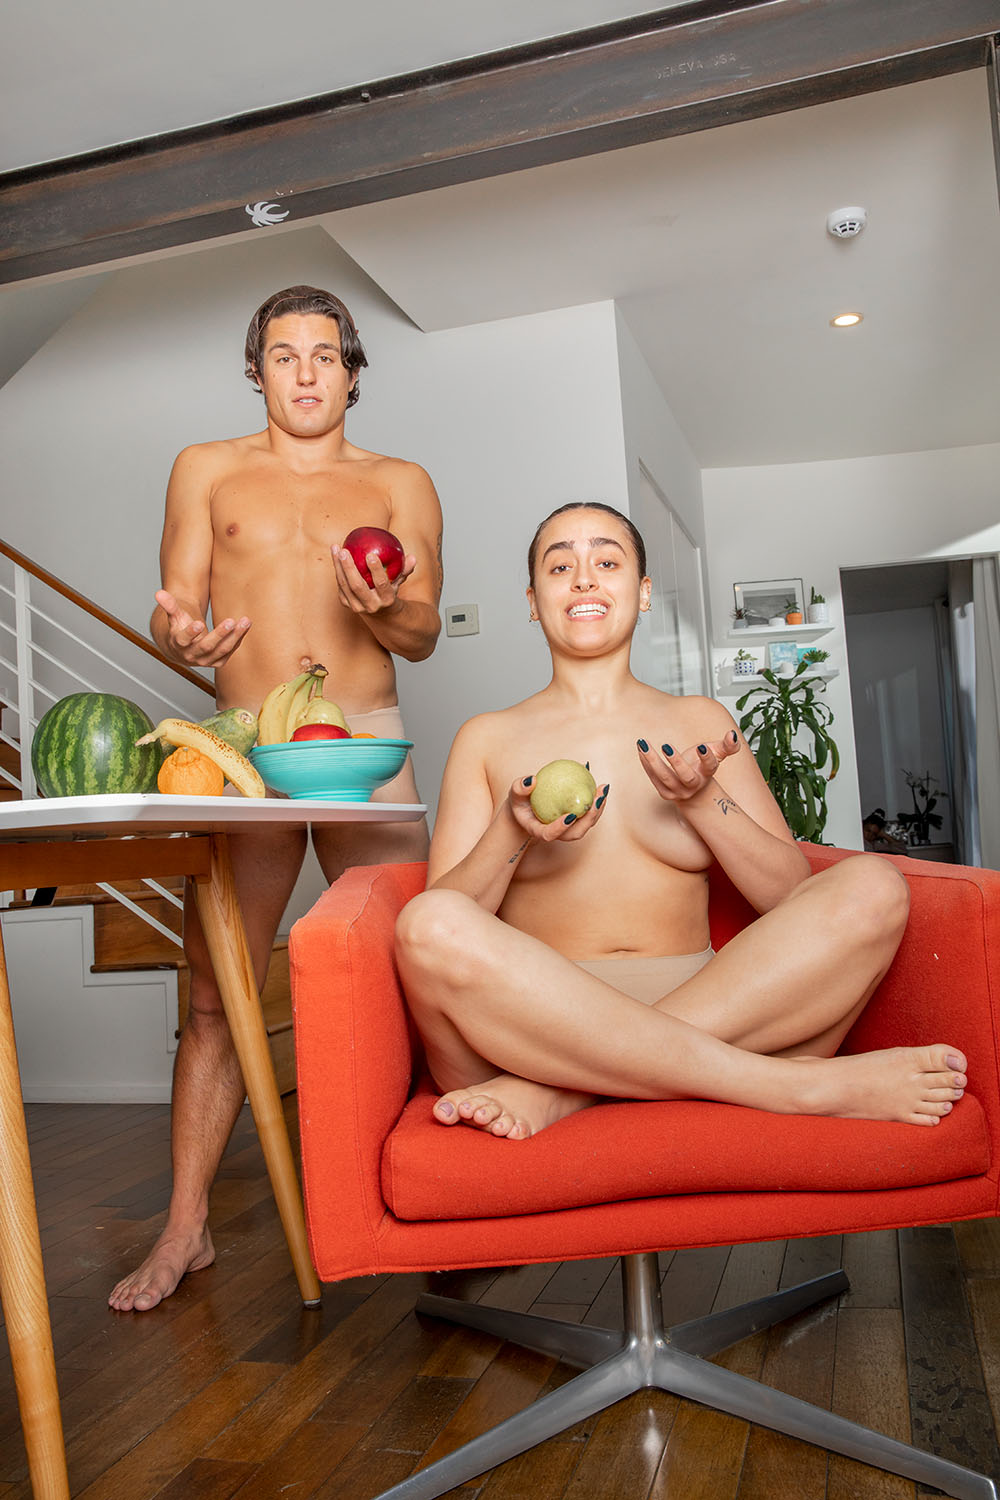
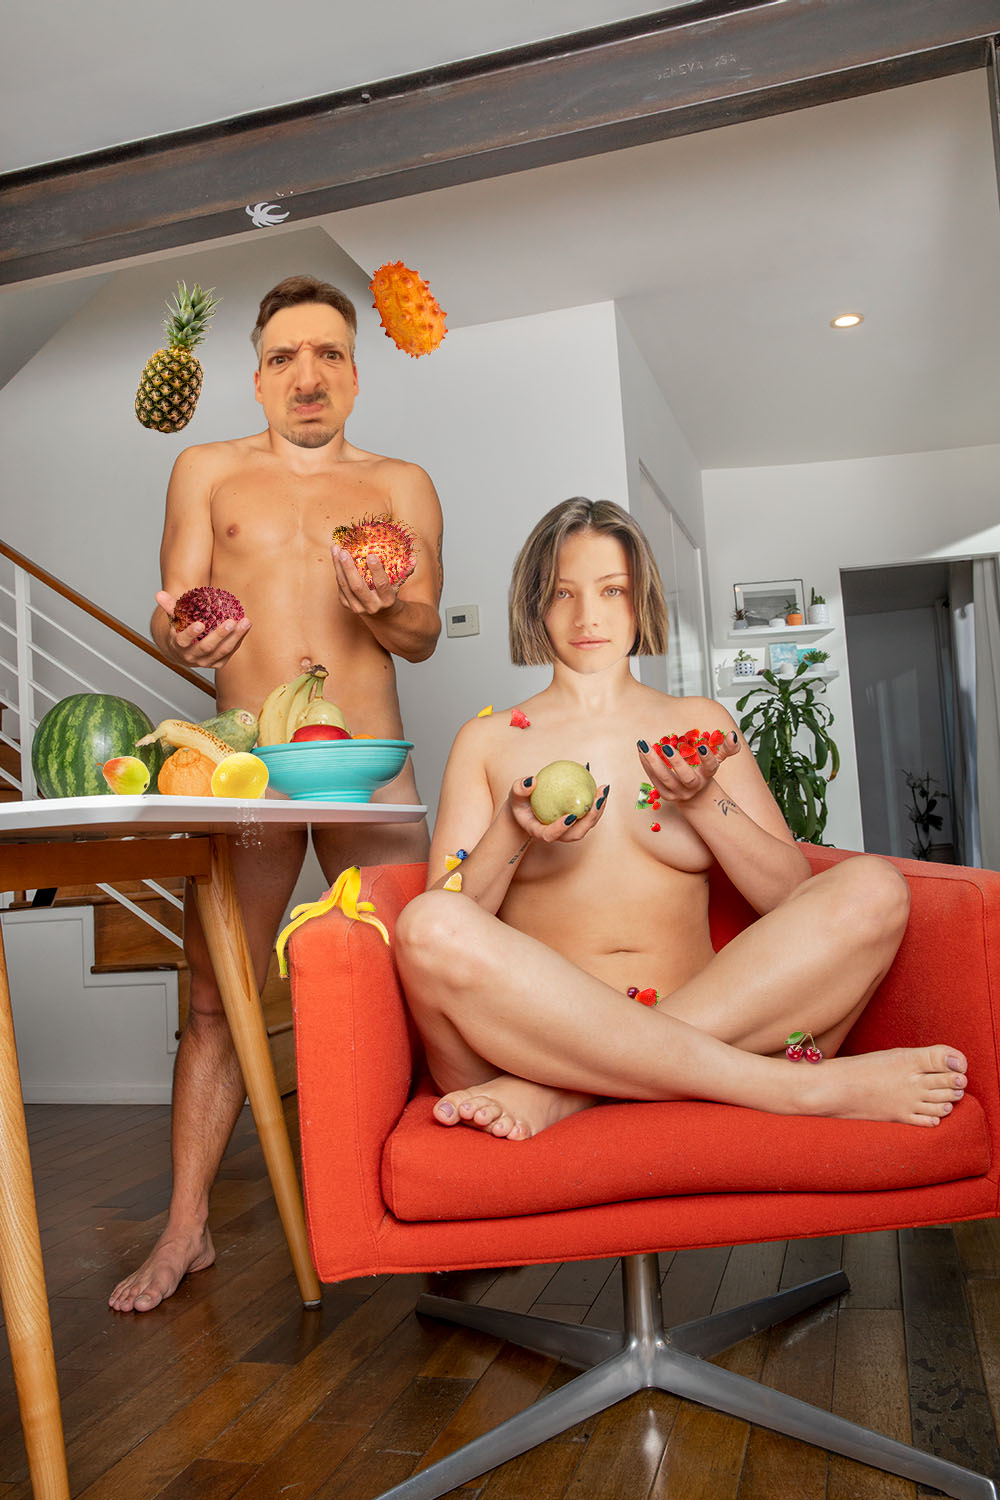
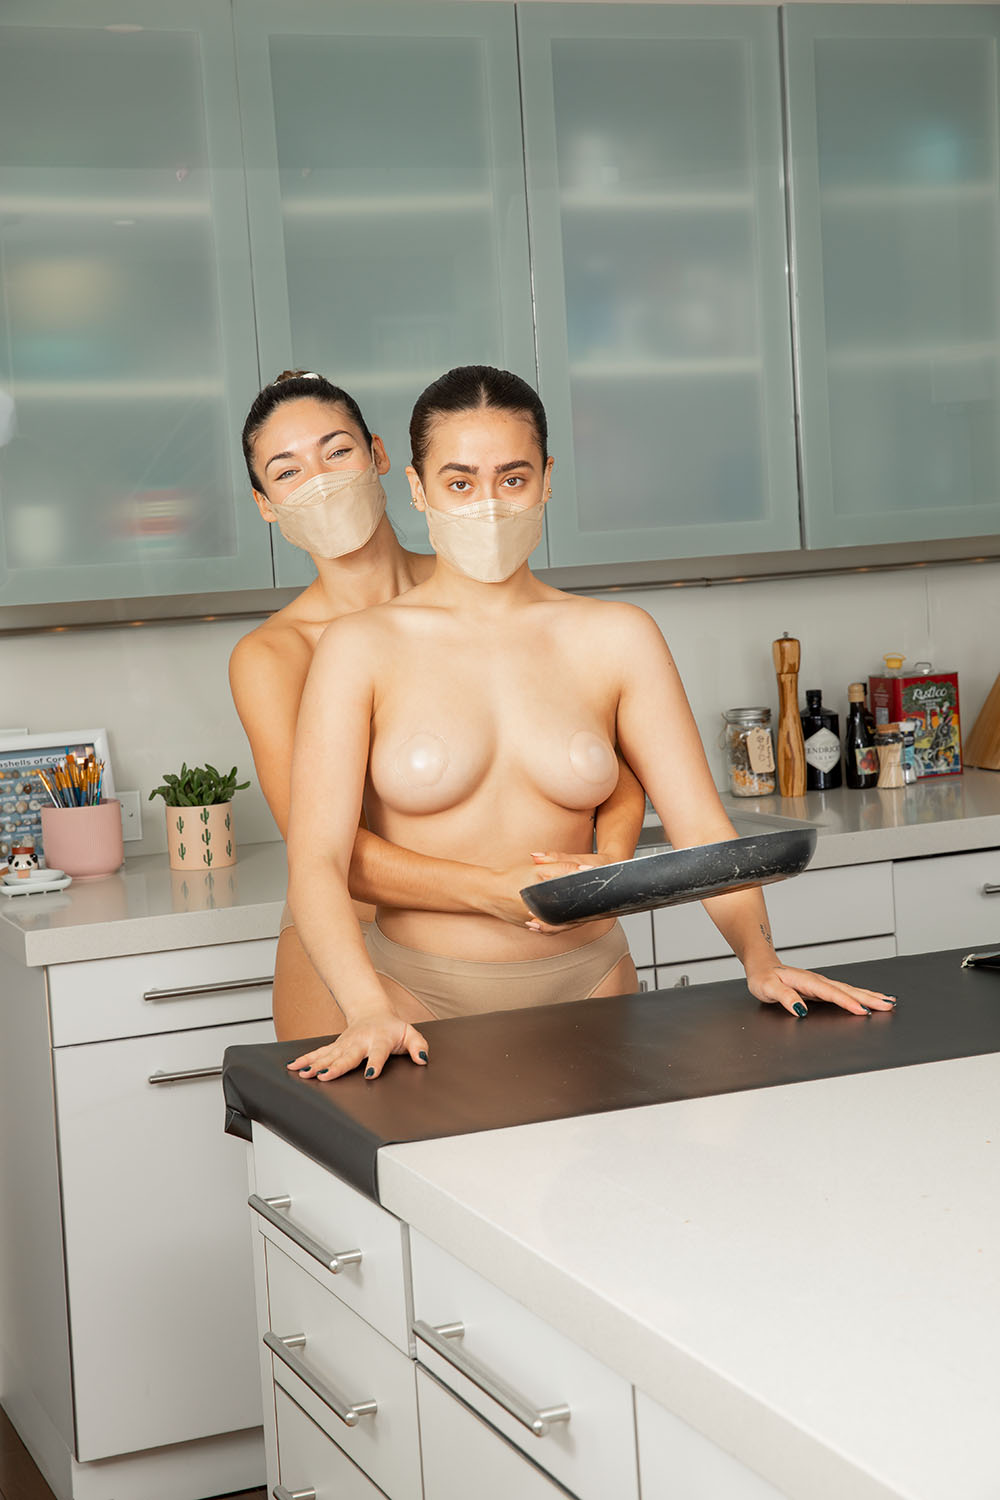
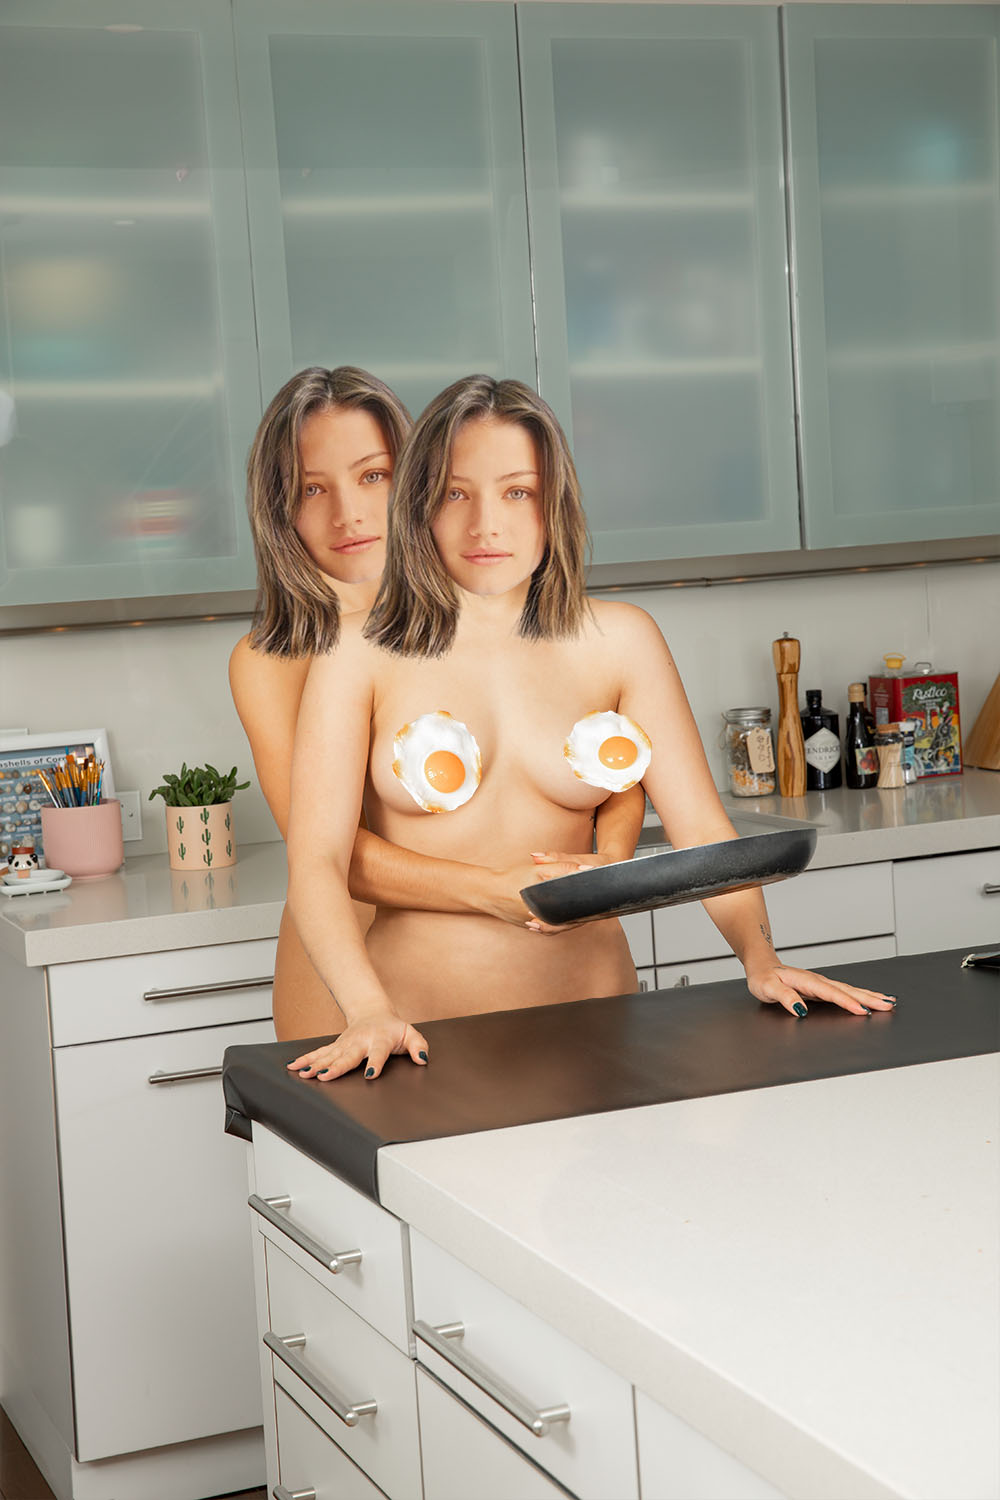
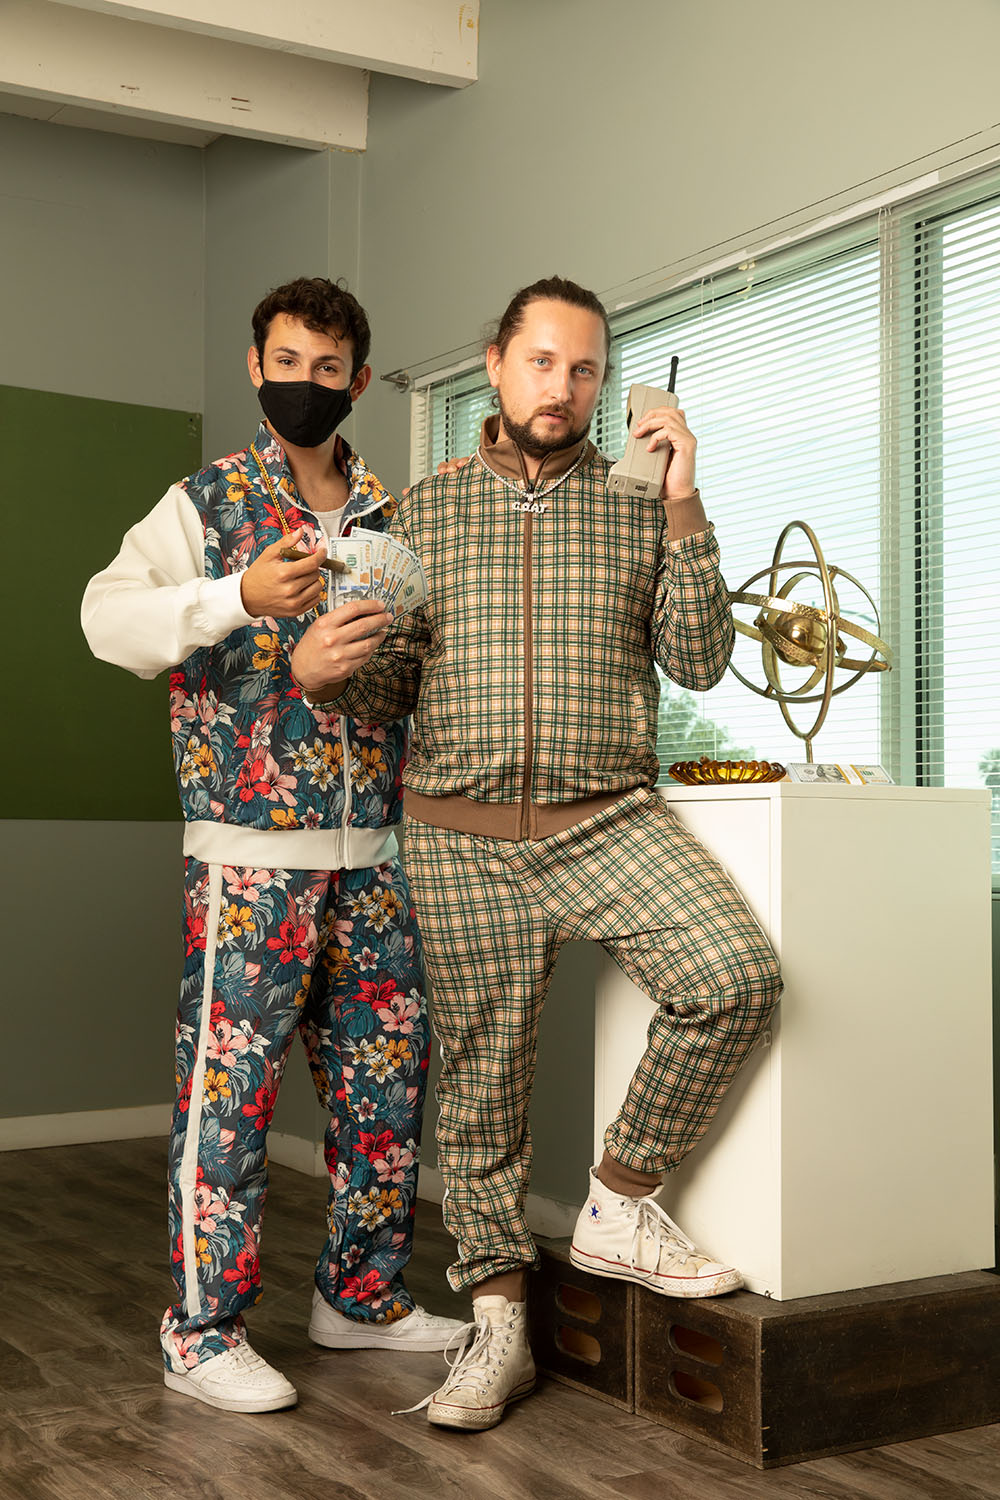
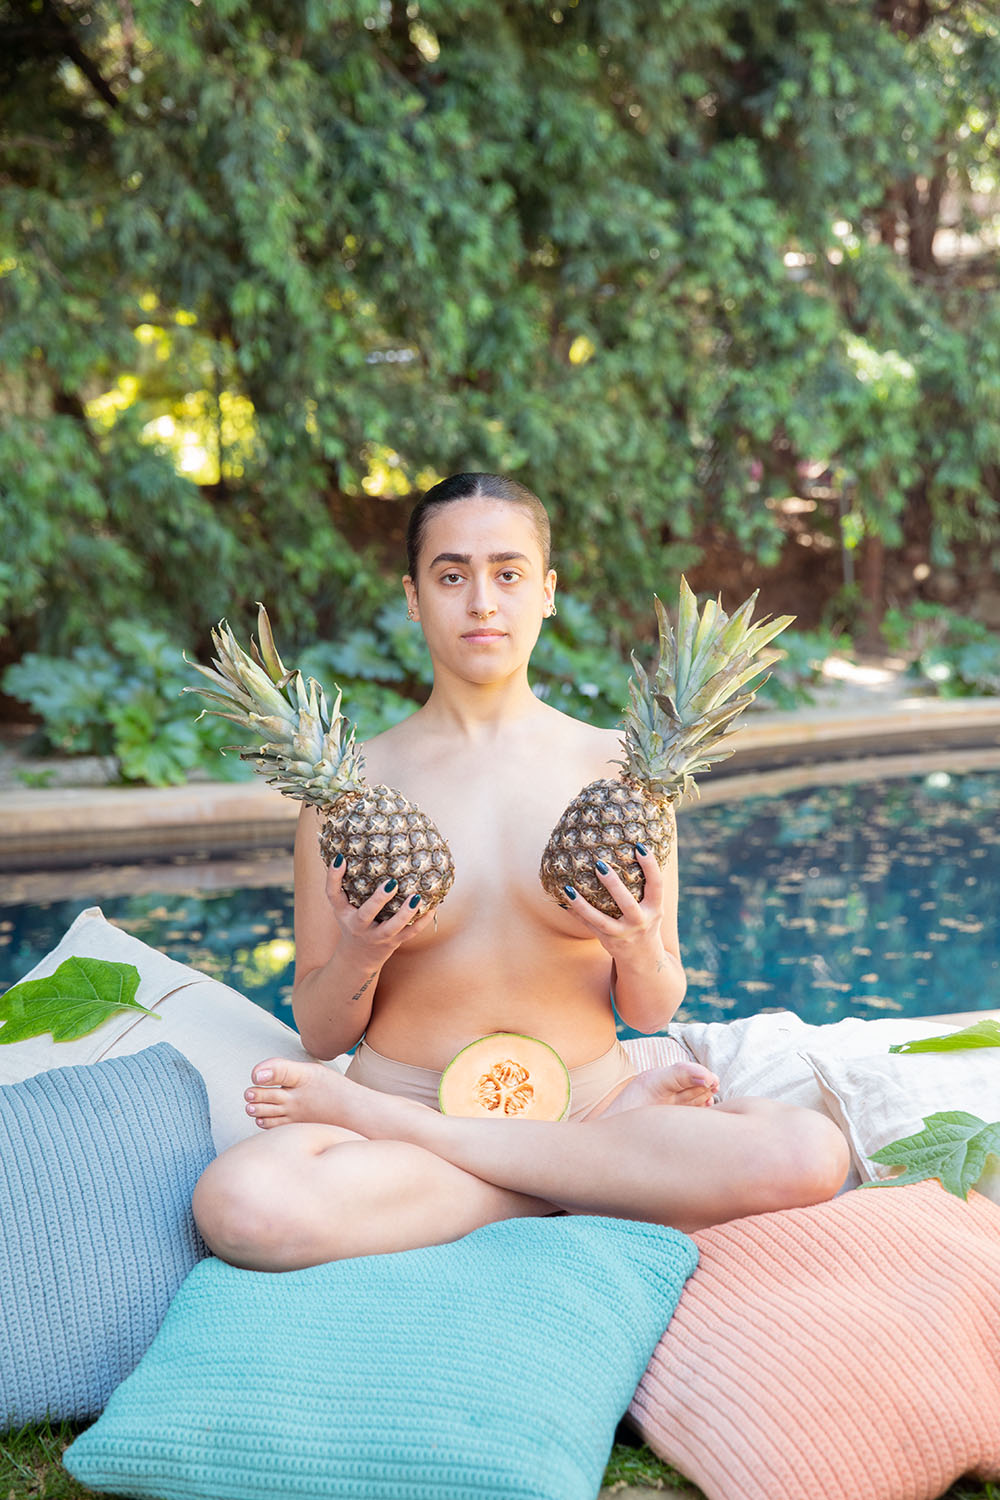
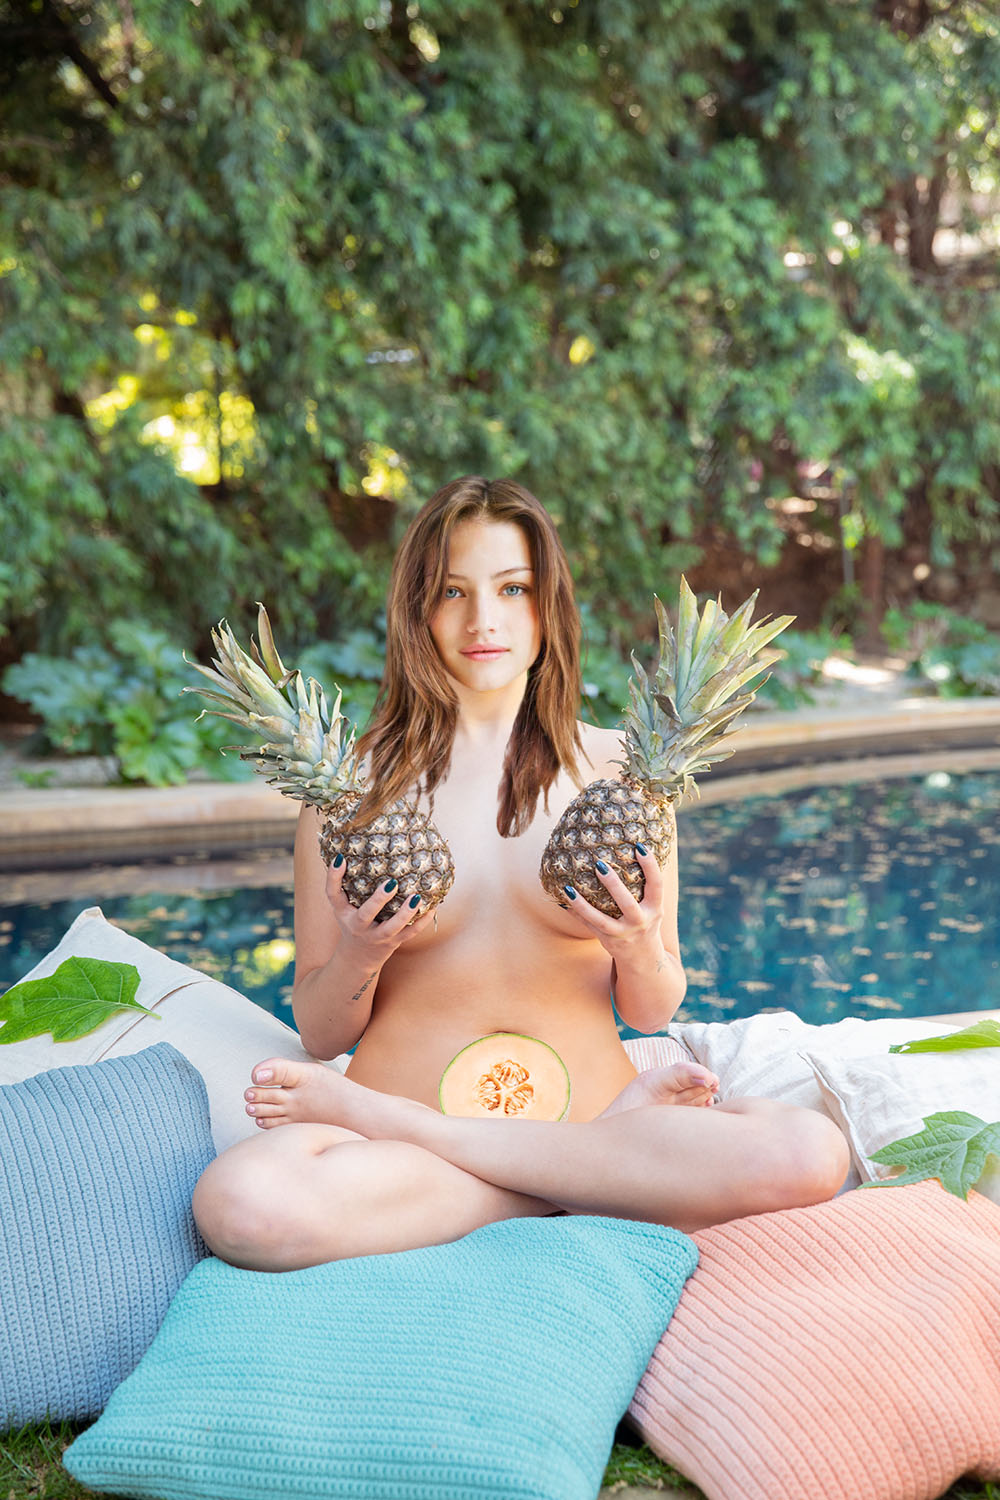
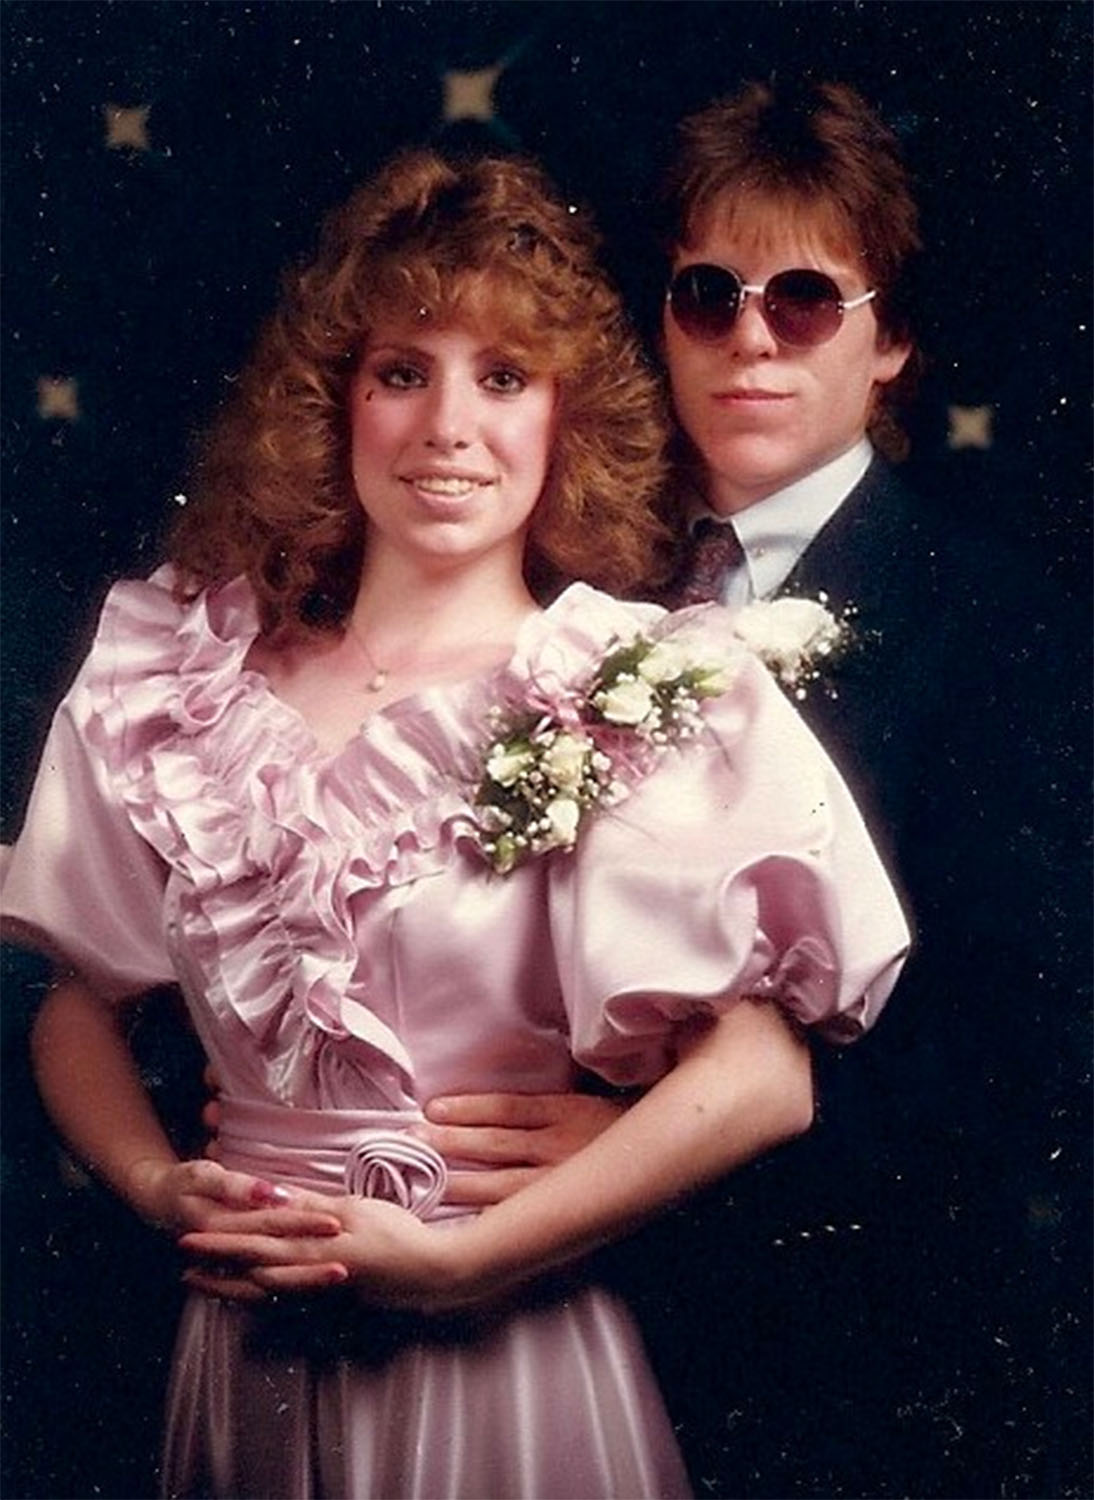
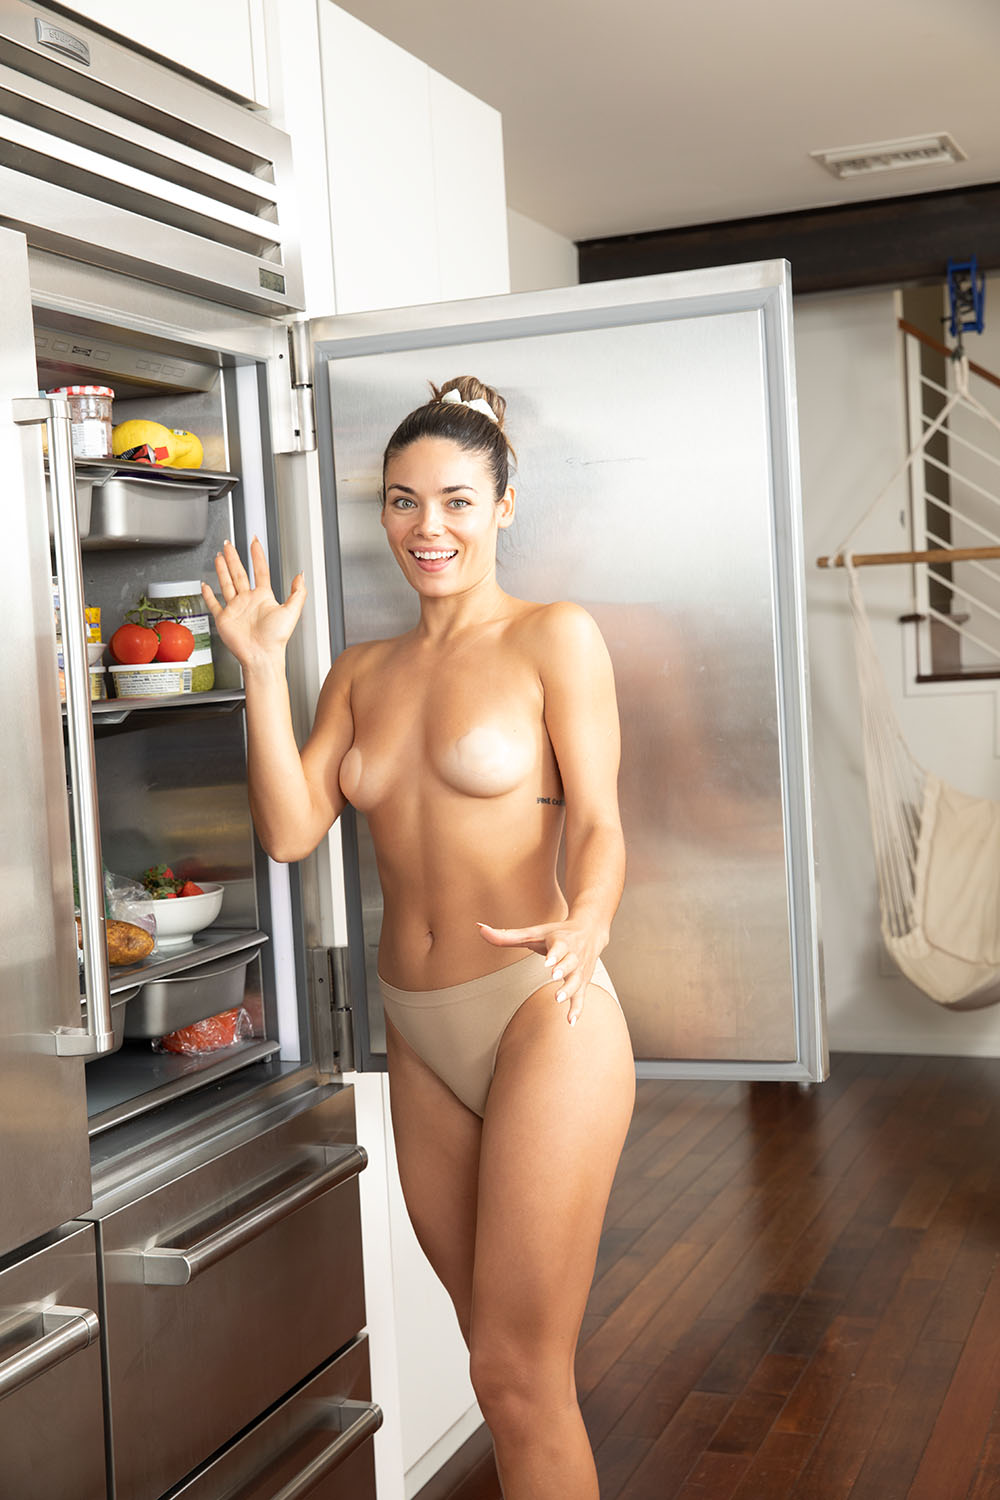
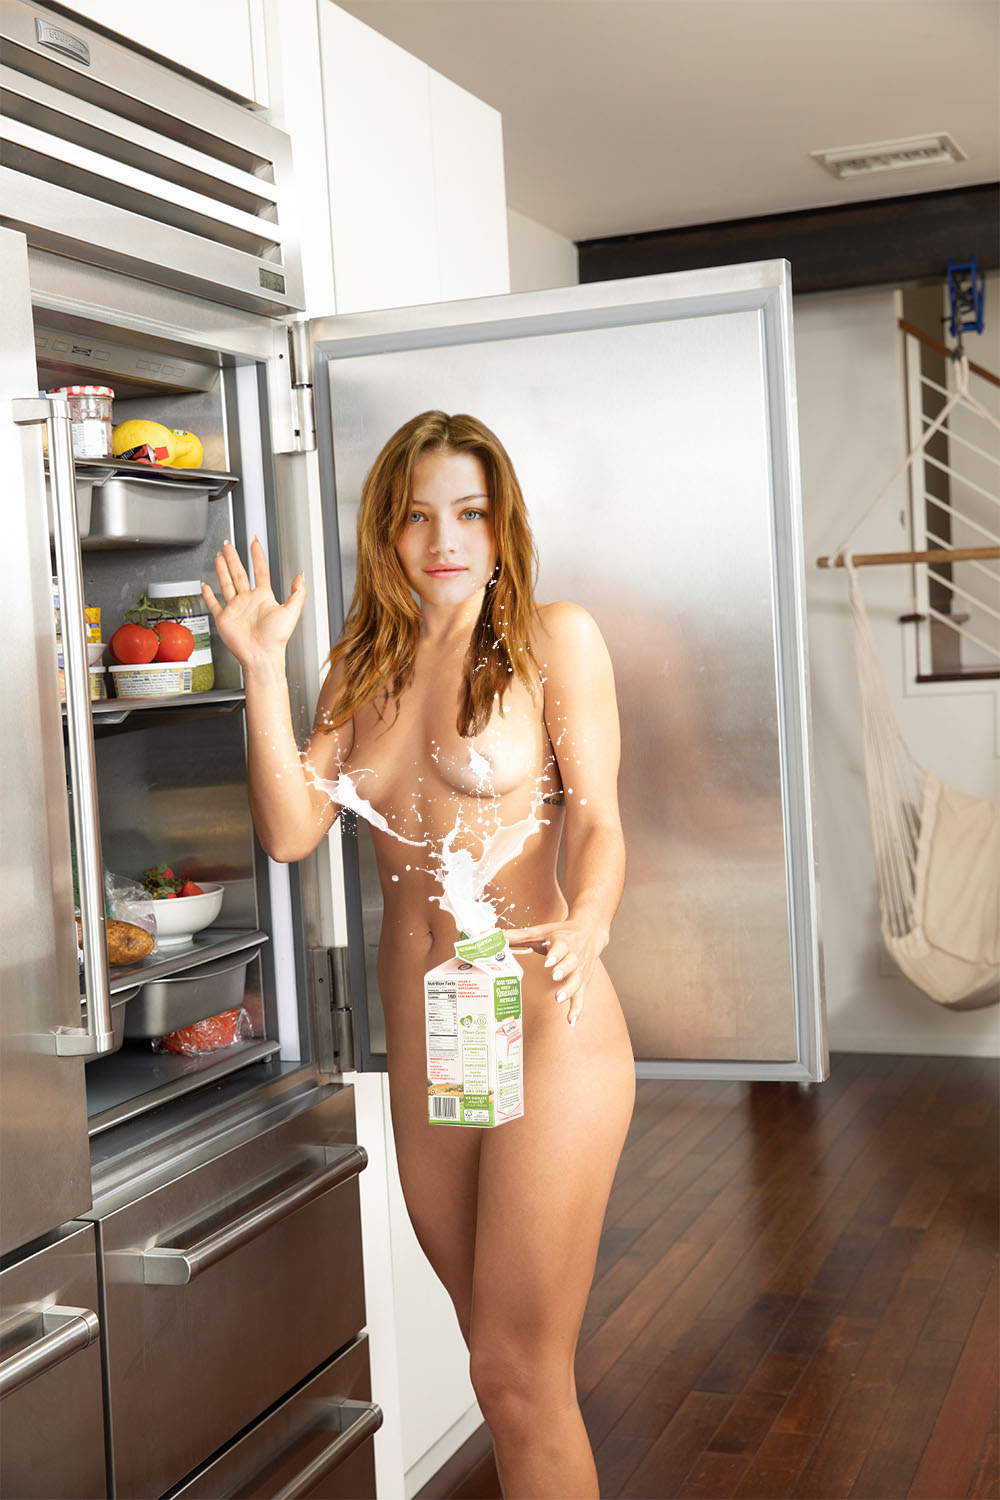
Final result (before and after)
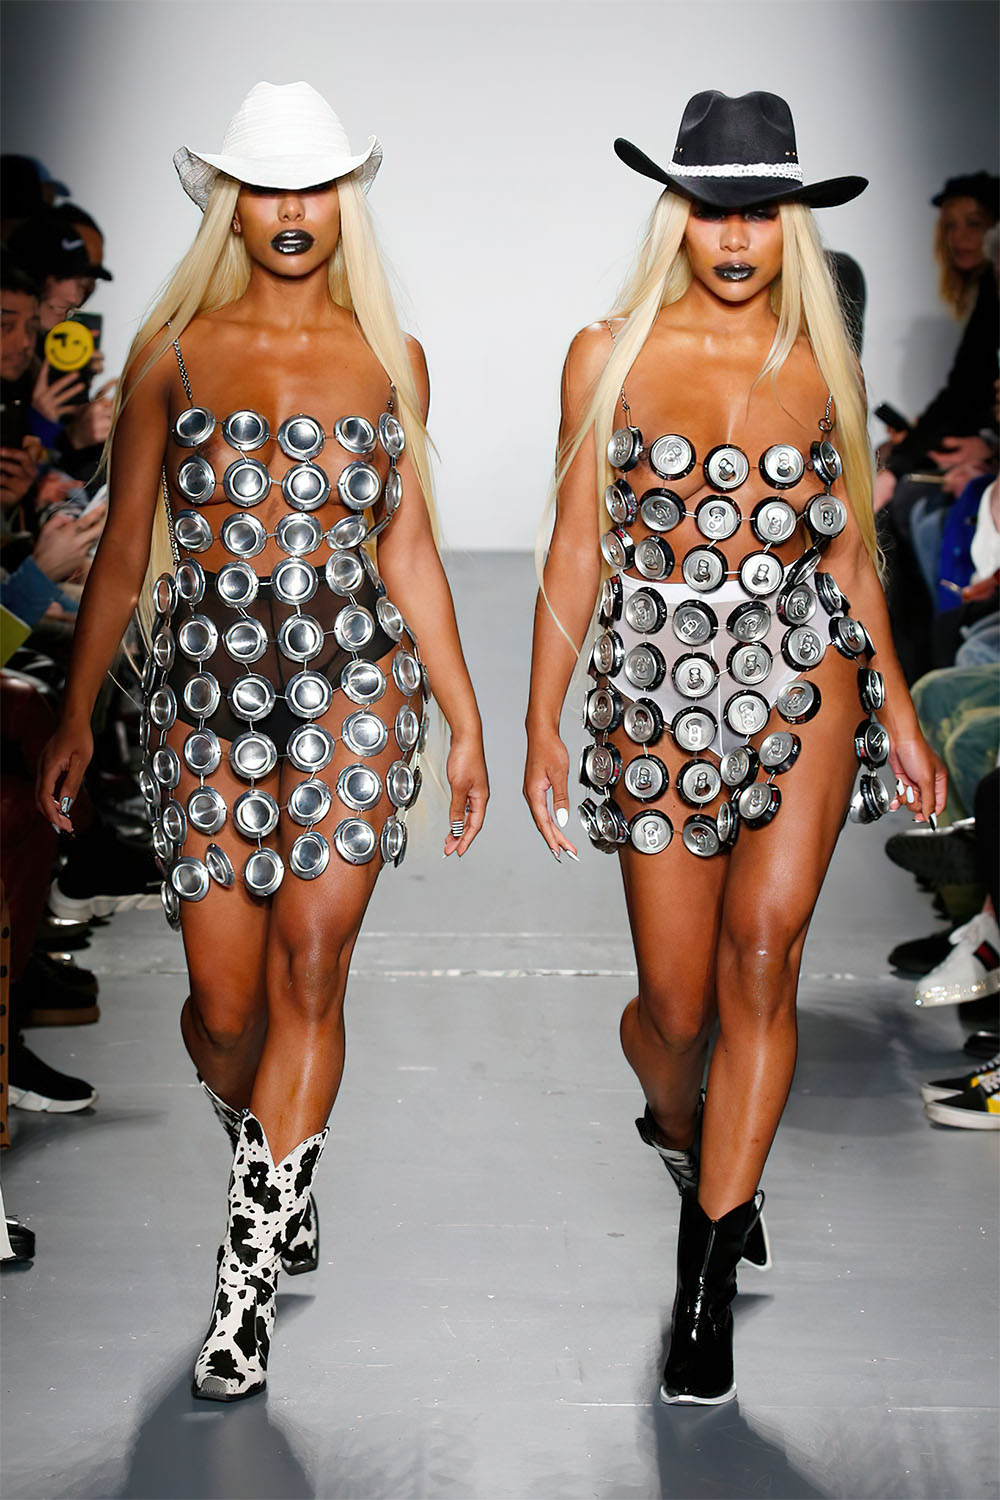
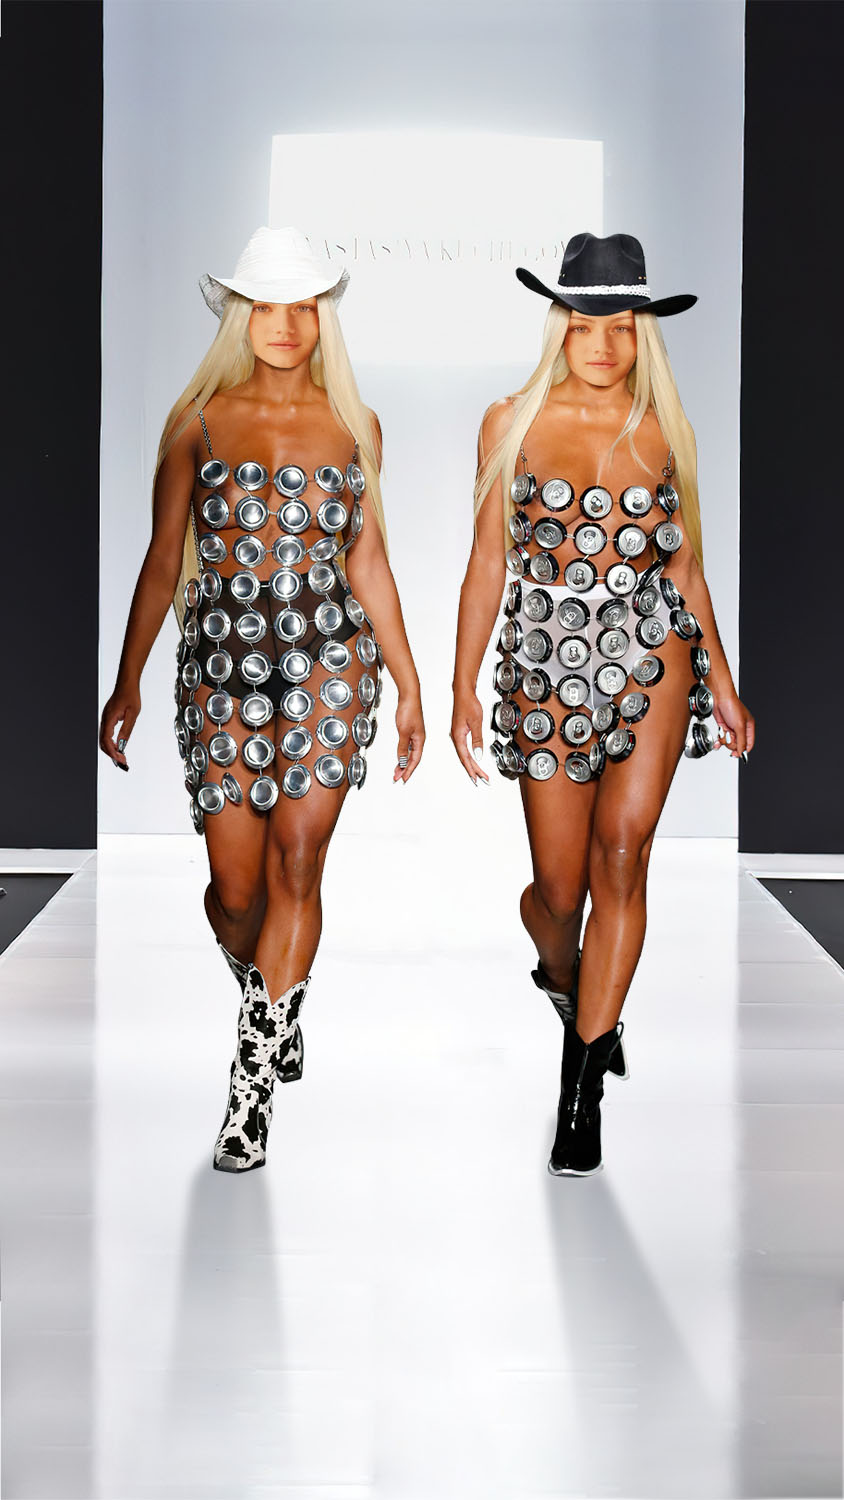
As a result, the user can change their face, also change the skin color depending on their own.
 Previous: RealtorBack to portfolio
 Next: App for Climbing
Share Project :
Next: App for Climbing
Share Project :
- Categories:
- Share Project :
Previous: RealtorBack to portfolioNext: App for Climbing